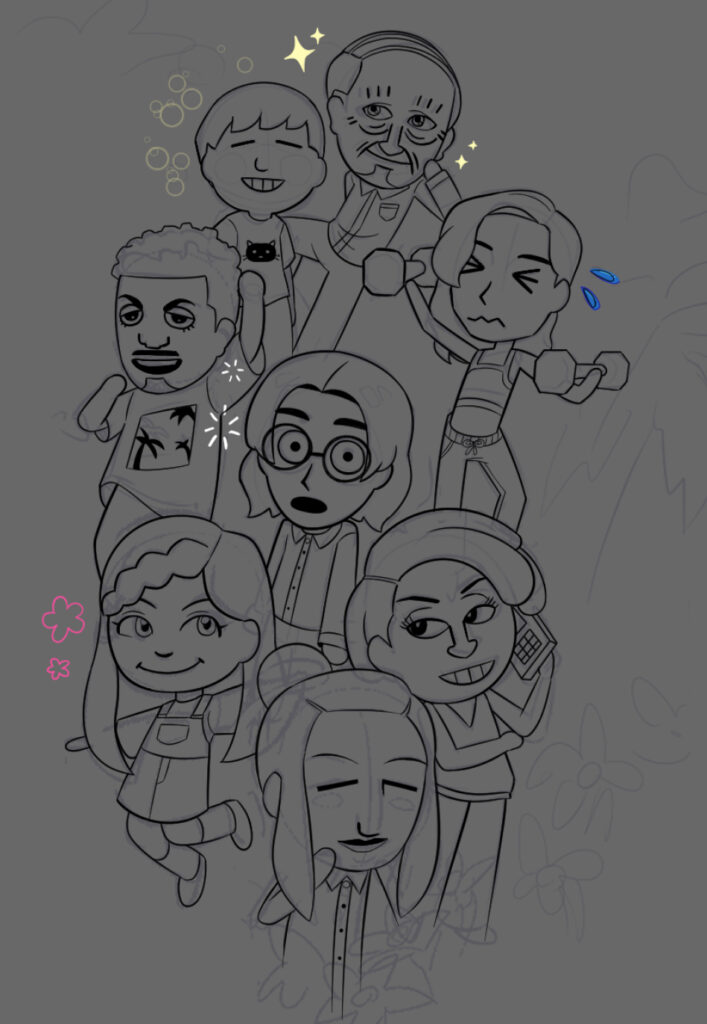
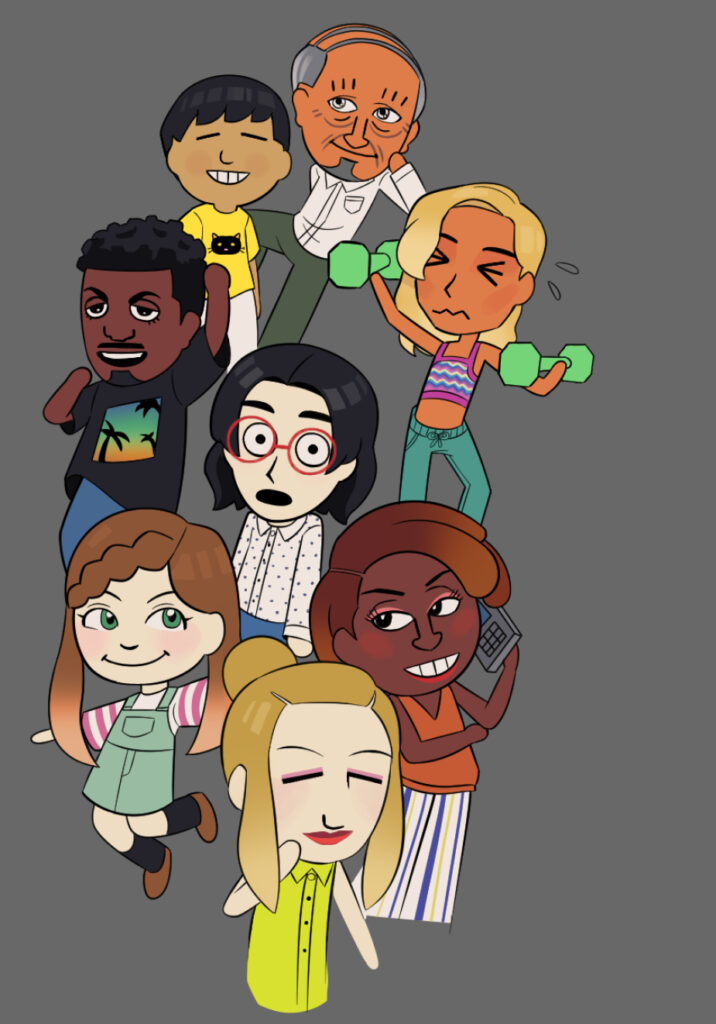
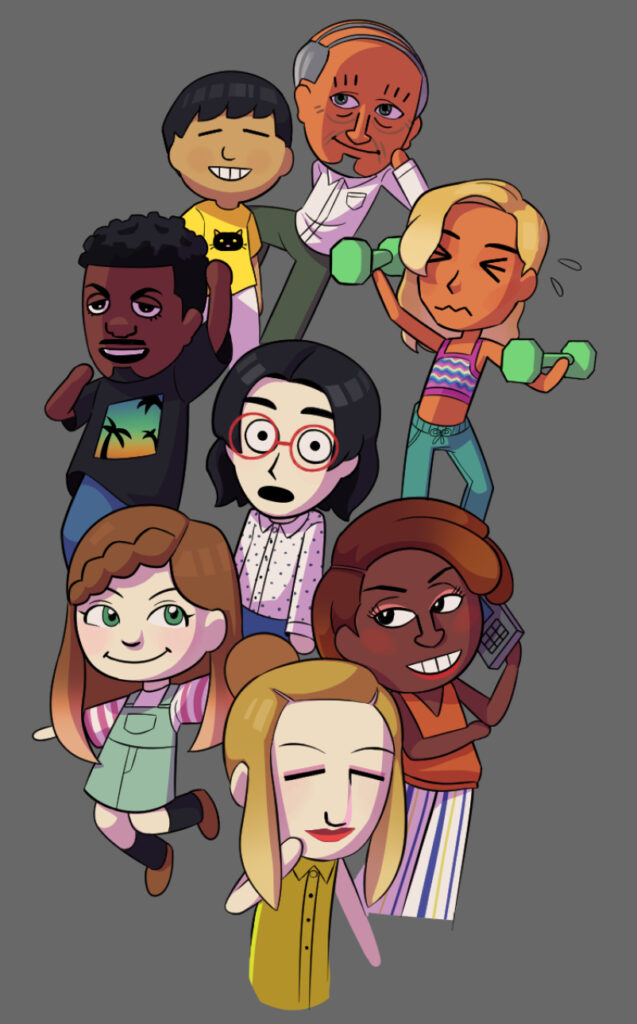
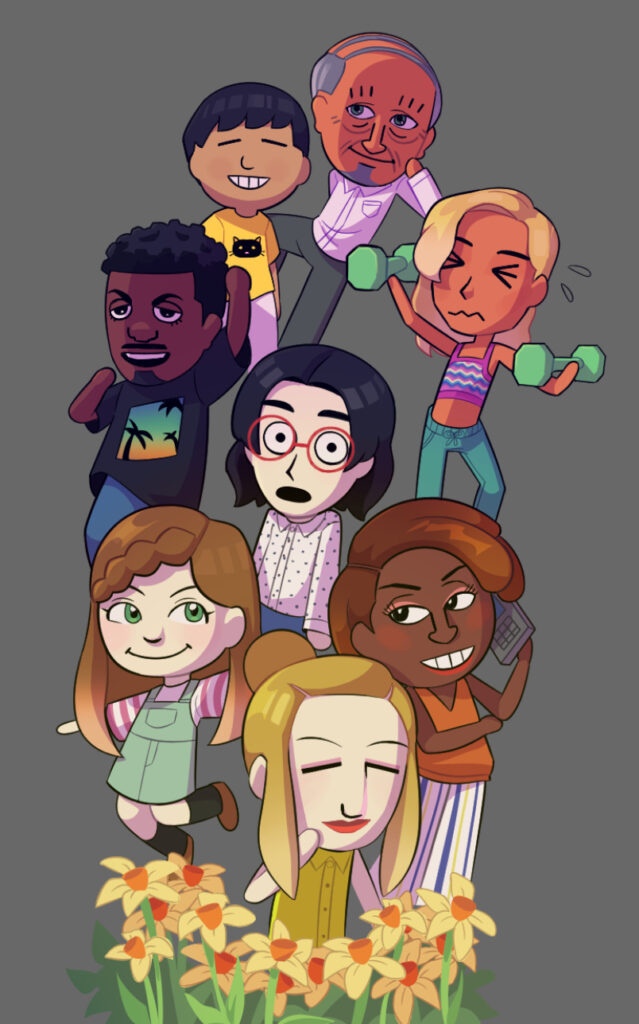
Free Inquiry: Shiyoon Kim

For my free inquiry project I’ll be studying how to draw in the styles of many different artists. For today’s inquiry, I looked at the works of Shiyoon Kim, a famous character designer who has worked on many animated films from Disney, Dreamworks, and Netflix. All the pictures here (unless said to be mine) are from Shiyoon Kim, and you can check out his personal website here:

http://www.shiyoonkim.com

Why Shiyoon?

Shiyoon’s work has always stood out to me for its more loose, speedy style of drawing. As someone who can take days working on a drawing, I really wanted to become comfortable with a more loose style!

Shiyoon also has an incredible sense of scale and proportion, as seen in his work. While I mostly did headshots for this study, I hope to one day also have a great sense of 3d!

Tools I Used:

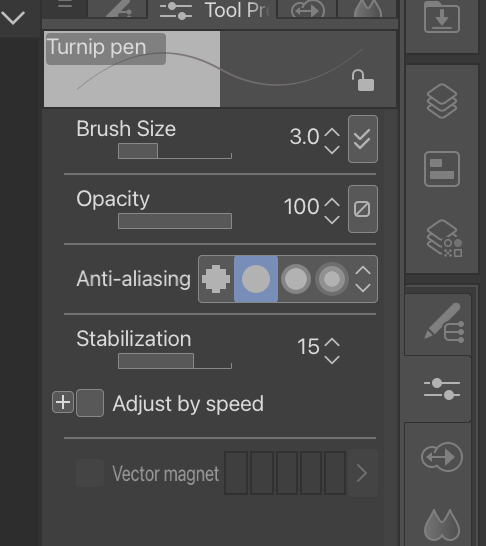
While Shiyoon Kim has his brushes available to purchase, I am very broke and was able to find a similar brush on the Clip Studio Paint store.

One of the defining features of this style of brush is its varying line width. Shiyoon uses a combination of thick and thin brush strokes in order to add more visual interest, as well as emphasize the separation between something.

In this concept art he did for Big Hero 6, we can see the thin lines used in the hair, where the strokes are part of a single “body,” and thicker lines at the collar and base of chin, where clear separation is important.

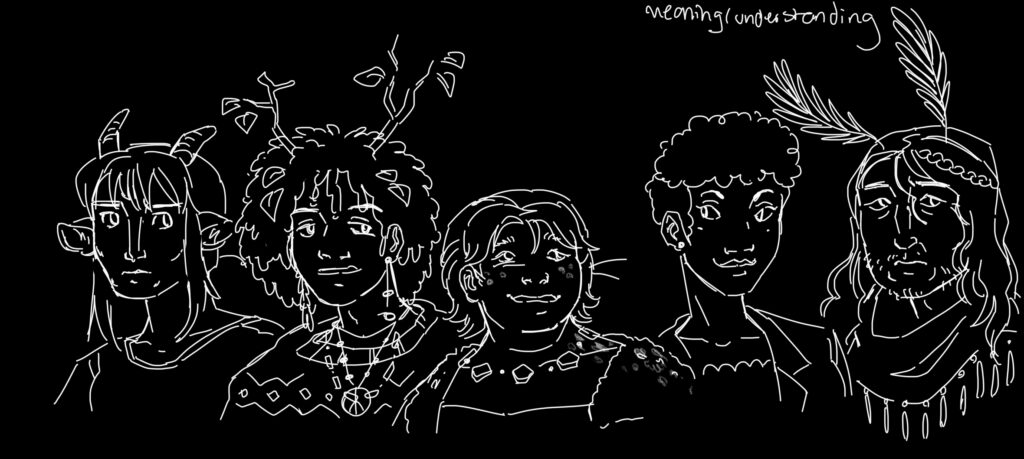
In this concept art done for Raya, we can see Shiyoon use very wispy, scribble lines for hair. Using this example and the above one for reference, I gave it my first go!

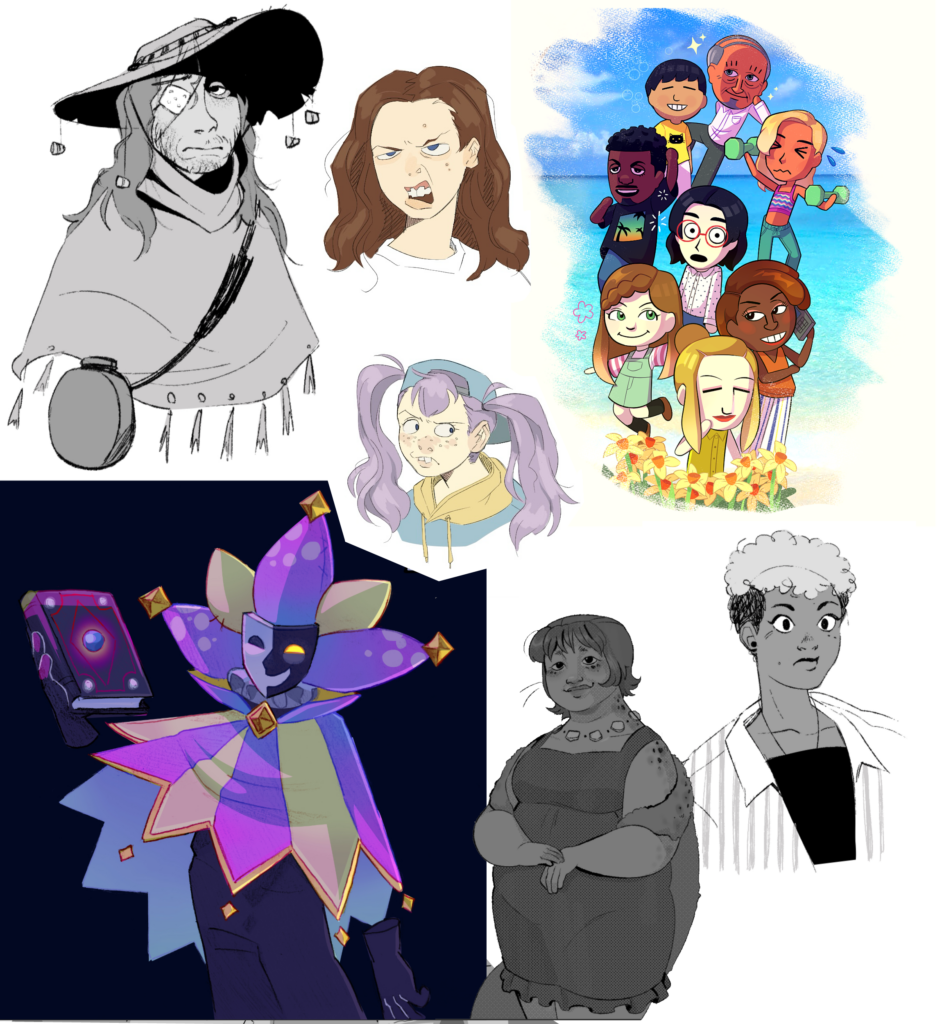
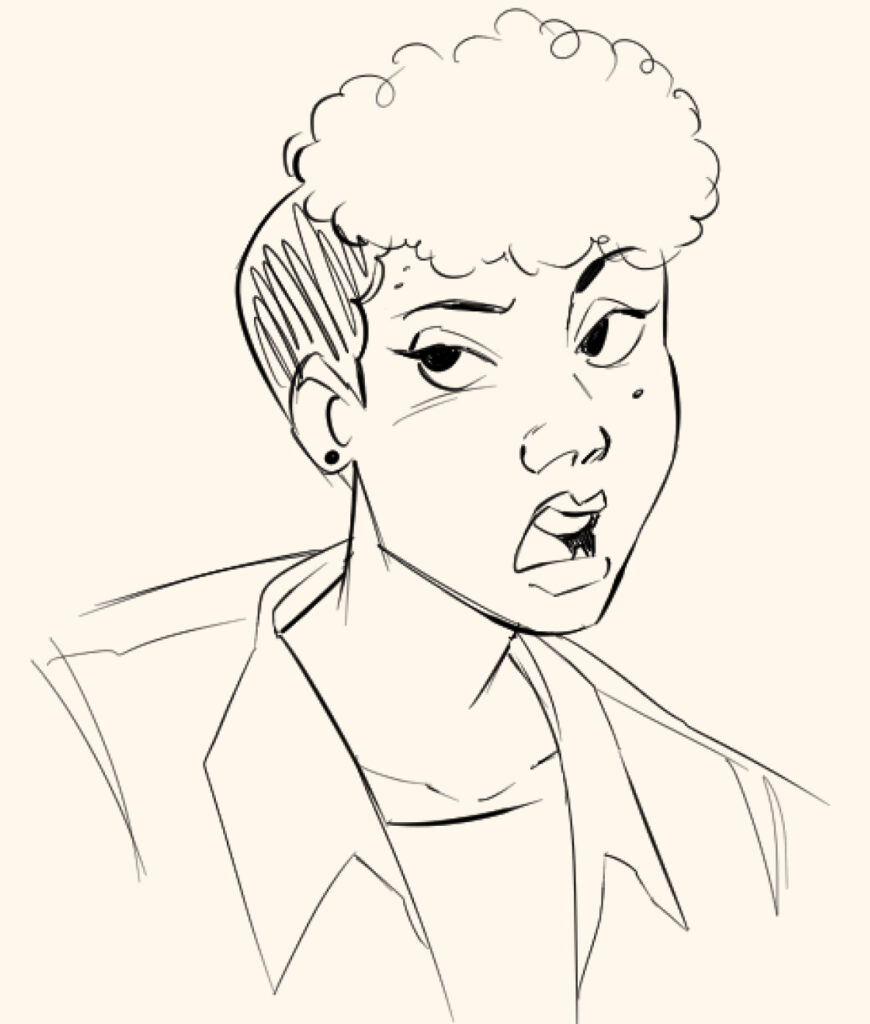
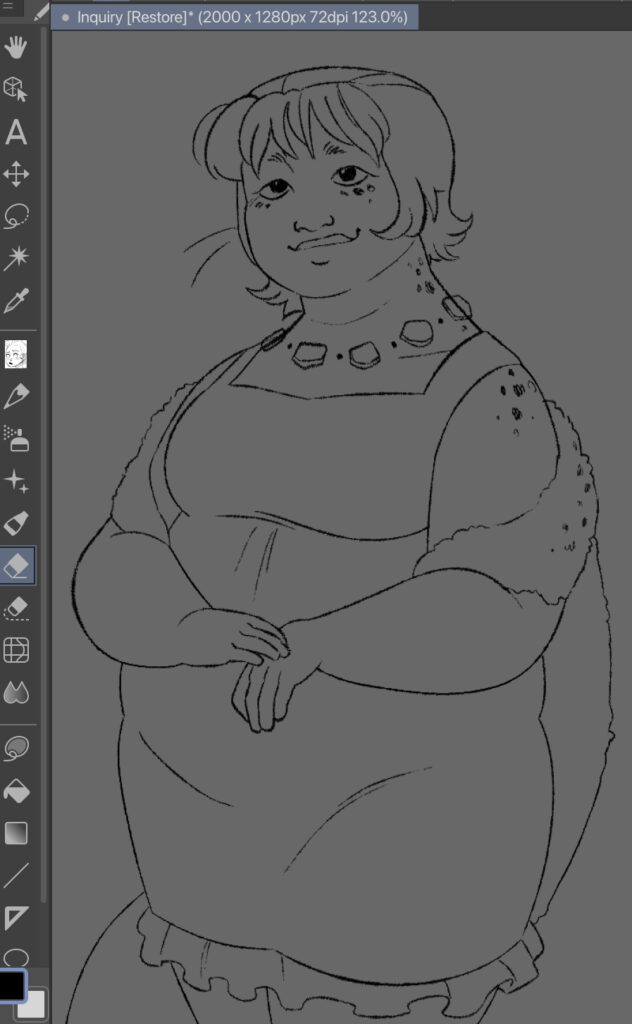
This is my first attempt, and while similar enough in vibe still feels a bit stiff around the face. I do think the jacket is closer to the desired looseness though!

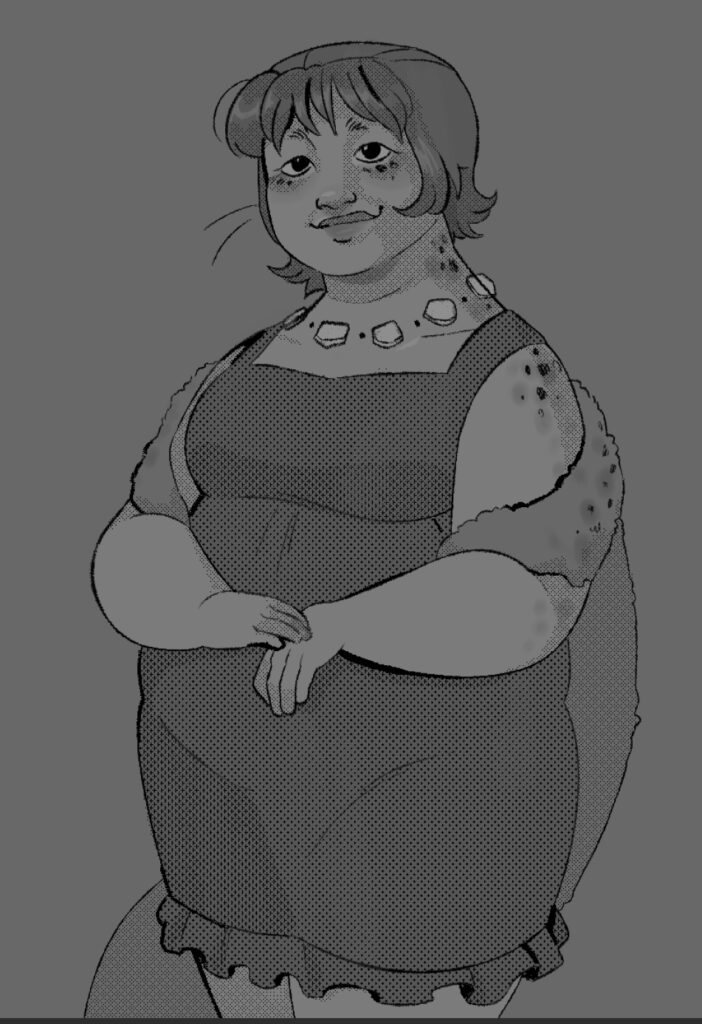
I also tried adding some simple greyscale, similar to Shiyoon’s Across the Spiderverse concept art. I like how the vertical stripes came out!

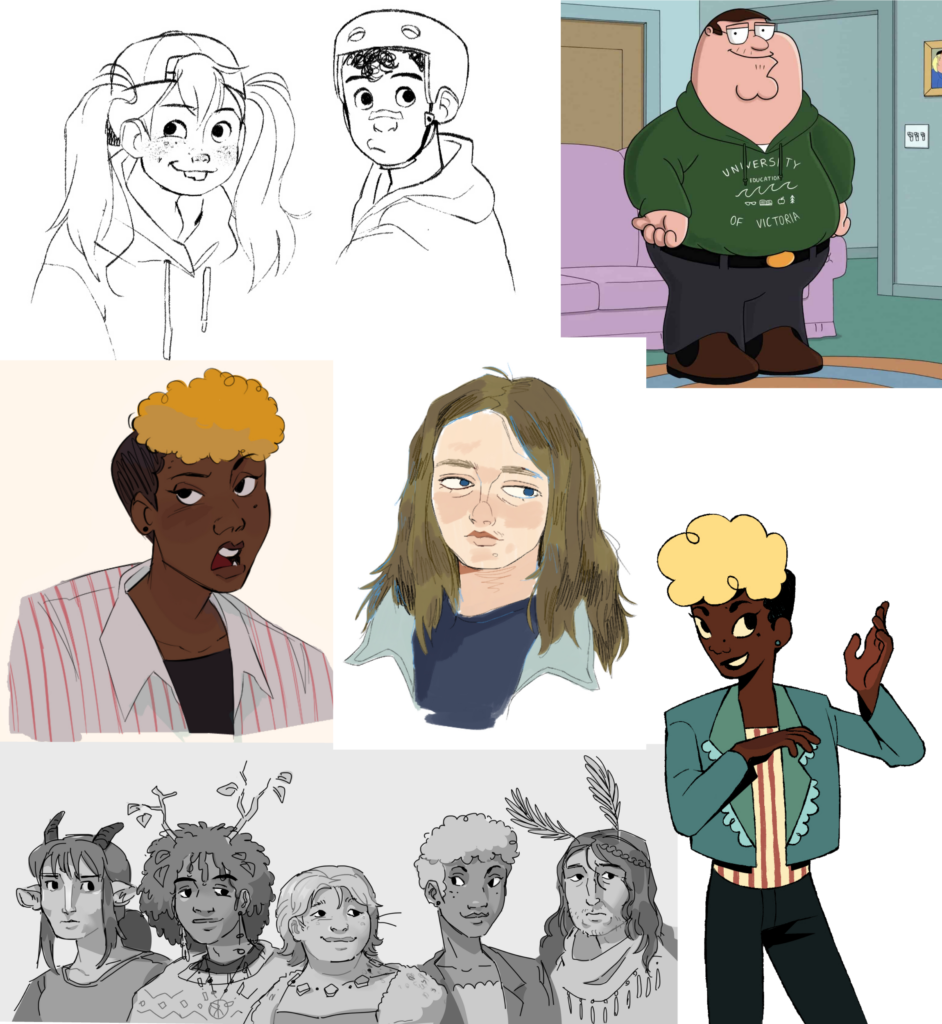
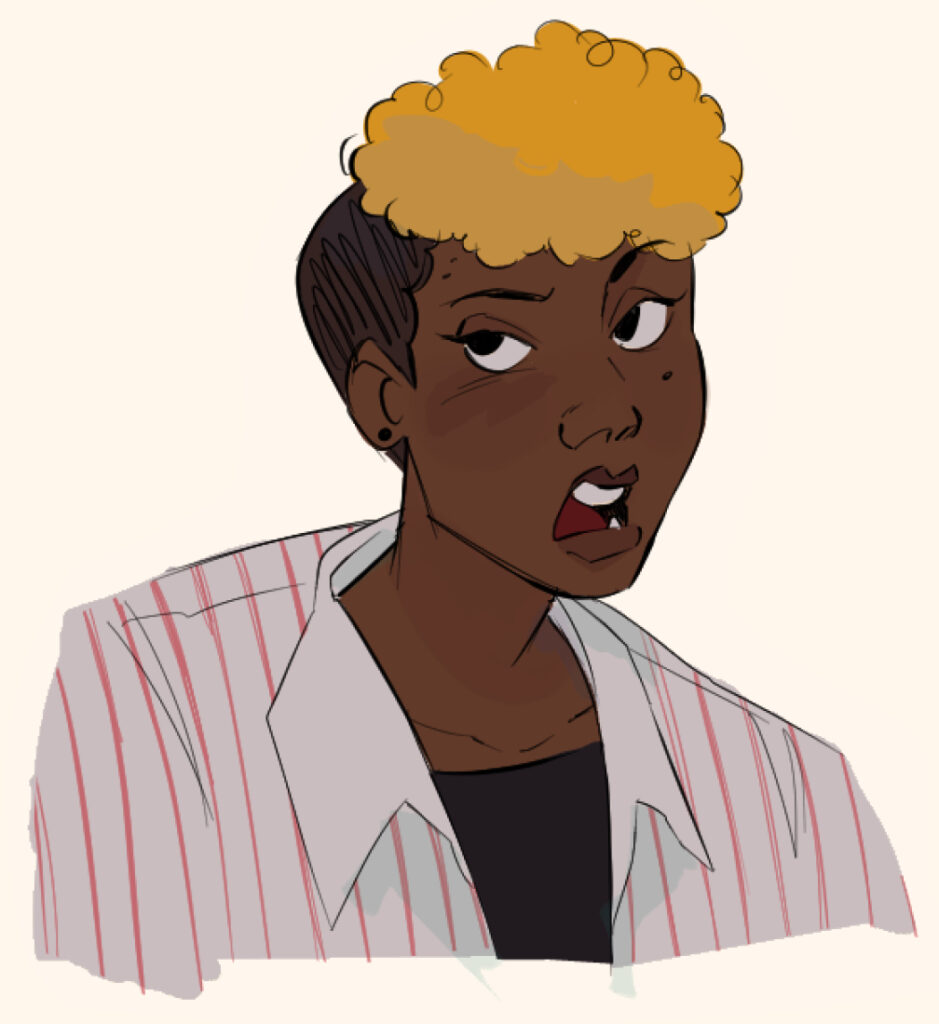
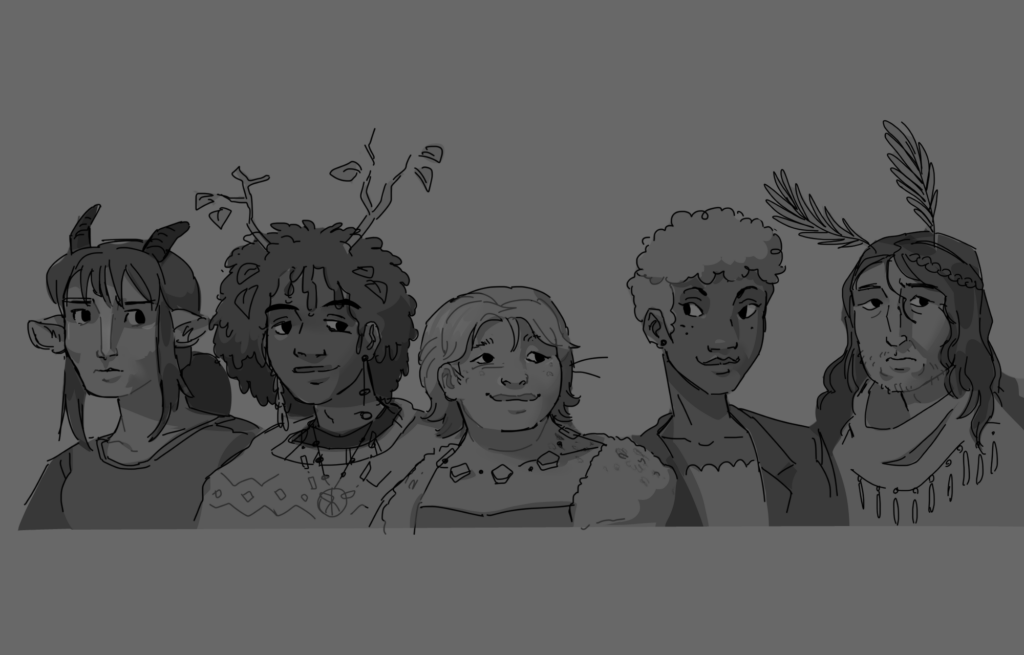
This was my second attempt! I tried adding more texture on the face by using a large pencil brush , and also used that same brush to create a wispy hair look.

this art from Shiyoon has a really cool use of solid black lighting, so I tried adding that to the work above!

awww yeah it’s all coming together 😎😎

Adding the solid shades really makes the piece come together!

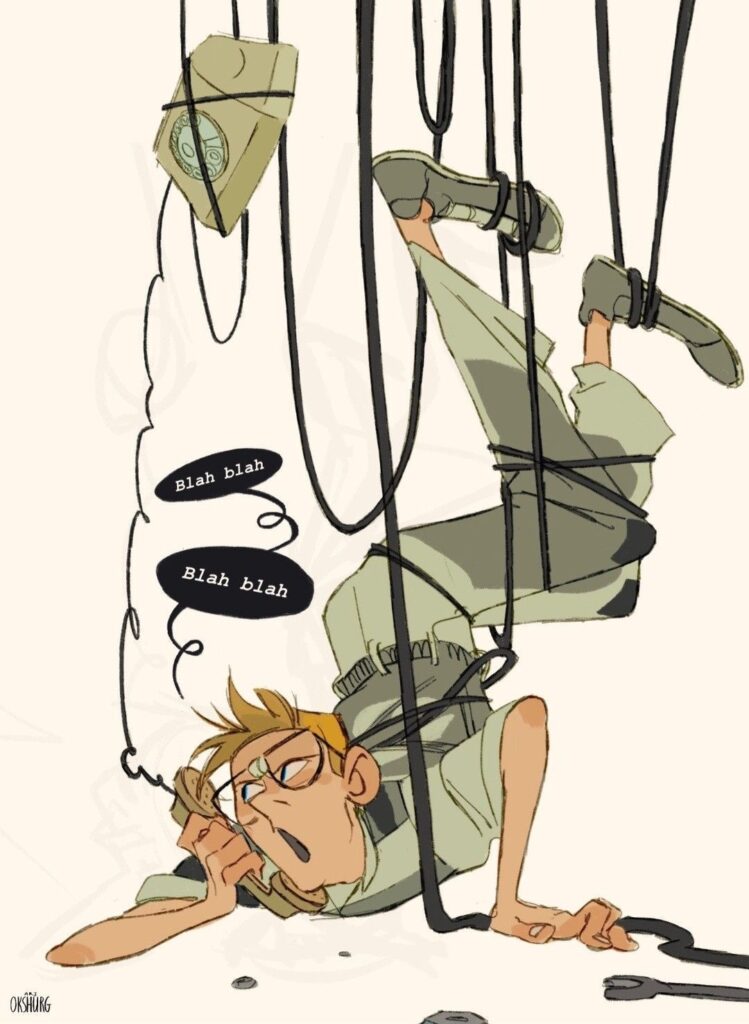
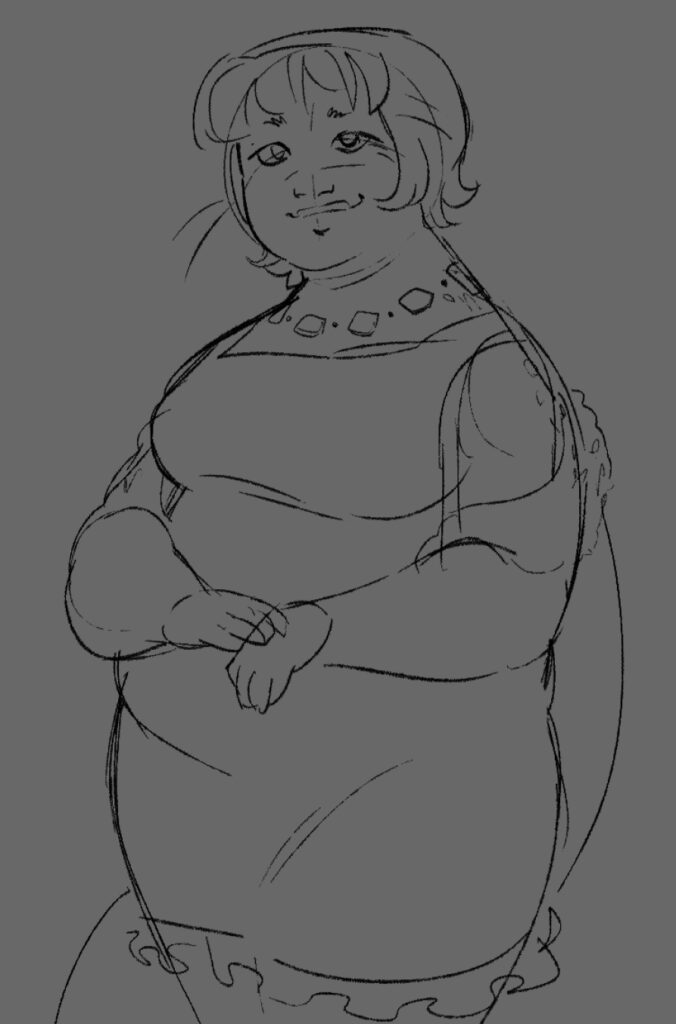
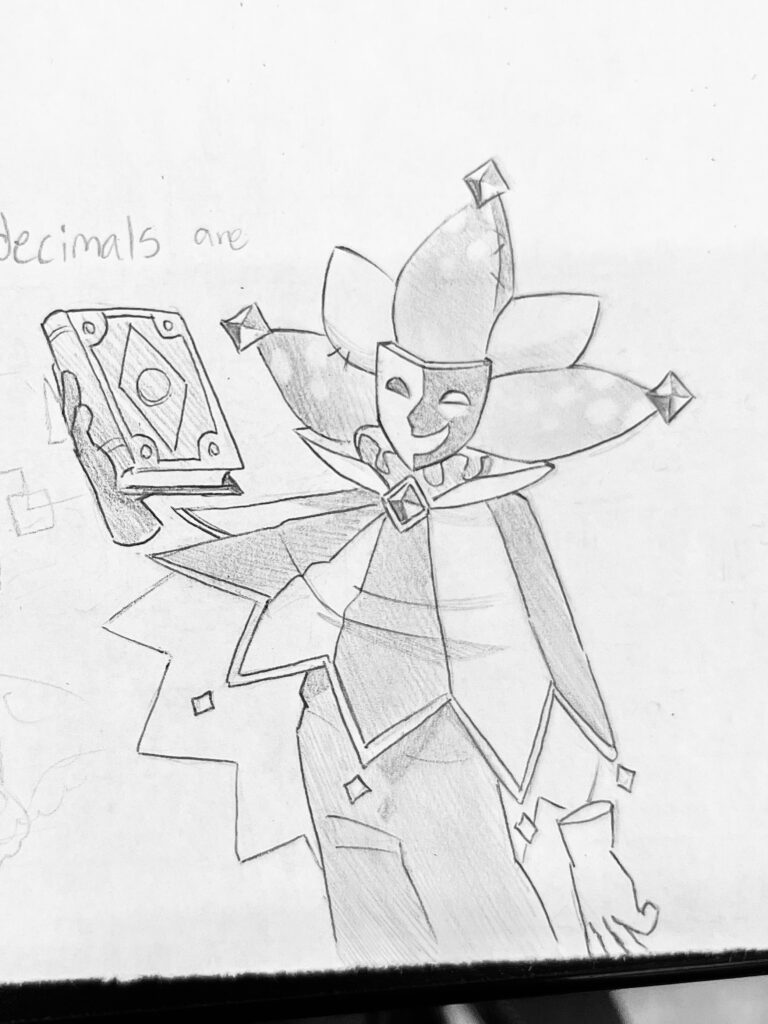
For my final try, I referenced this Shiyoon Kim drawing:

this one, while much neater, still has some of that trademark looseness, as seen with how the lines intercept at the corners. I wanted to try copying how he drew eyes here!

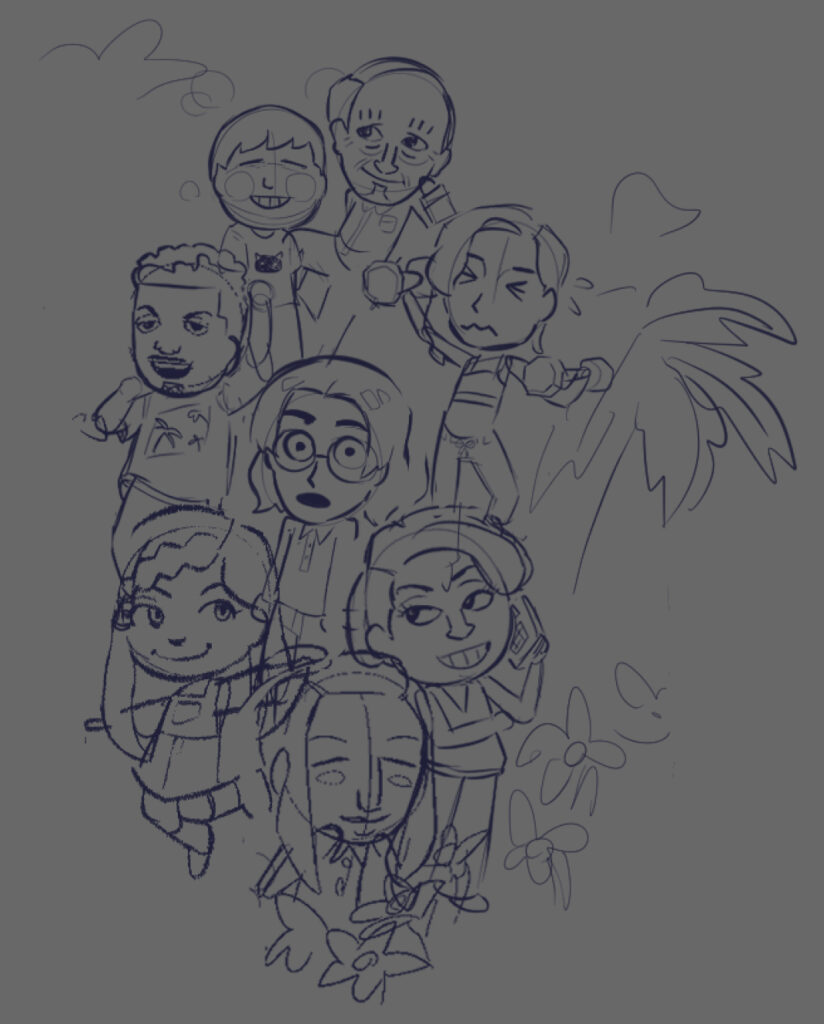
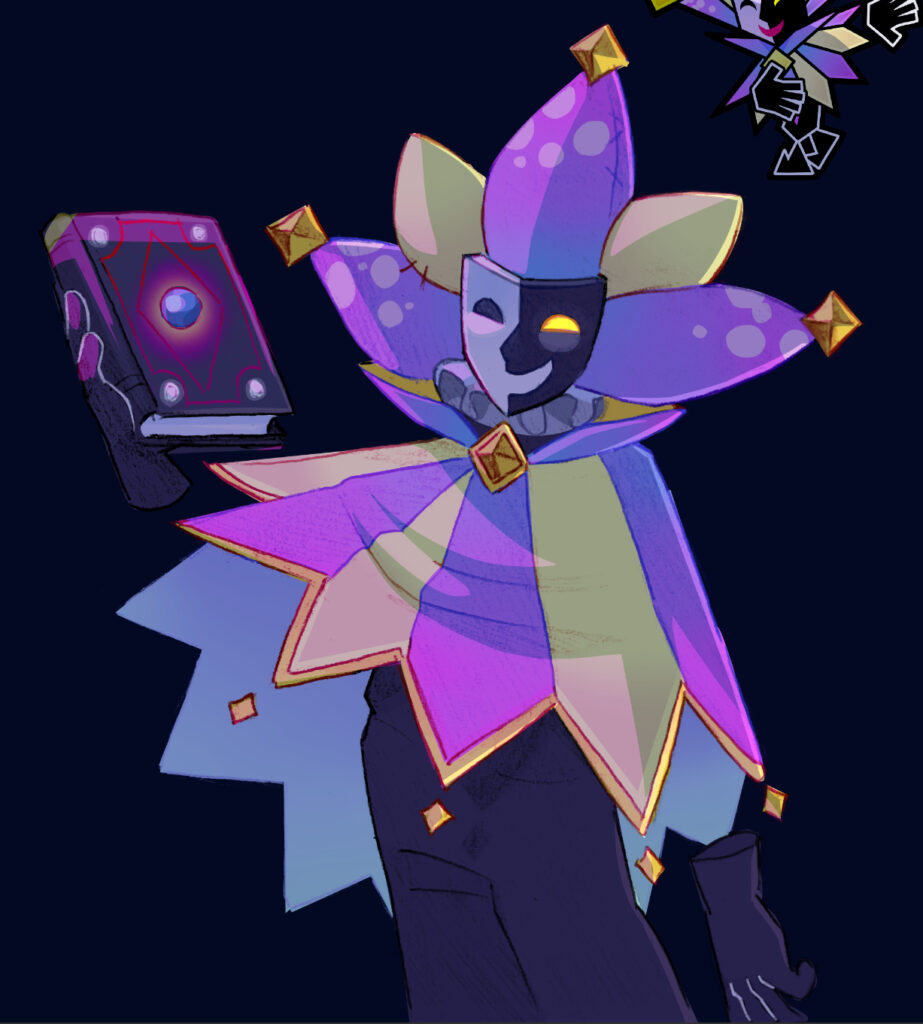
And here’s the final try! This was a super fun style to experiment with, and I feel like I’ve learned a lot. While obviously not 100 percent accurate, I think these pieces look very unique compared to anything I’ve made before!

Graphics for Teaching

Using graphics helps us understand far more than we would with just text. As teachers, implementing graphics into our lessons can further student understanding, as well as making classes more fun! (E.g, the bicycle example)

when making infographics for teaching, it’s important to keep these things in mind:

  • colour coordination (having sections labeled with colours is an easy way for students to recognize and group things together)
  • labels (when learning new things, having parts of a graphic labeled go a long way, and it’s important to avoid assuming students are already well versed in what a lesson is on)
  • hiding info with slides/ppt (this is a fun way to quiz students! Some teachers make games of “Jeopardy” using PowerPoint, and by obstructing information, students may be more intrigued and engaged by the lesson)

Options for graphic creation

  • Canva
  • Gimp
  • Ibis paint my GOAT
  • photoshop (photo pea)
  • Krita

Powerpoint is widely available at most schools! Try not make your students sign up for new services due to security concerns. PowerPoint has many wonderful features, like “Smart art,” which makes easy diagrams. Students learning about using hyperlinks in PowerPoint can also make their own “choose your own adventure” stories, which can be an exciting way for students to exercise creative thinking.

Reflection- Jesse Miller

Last Tech class, Jesse Miller came in and talked about how we can use technology responsibly as educators.

How to Use Social Media:

as teachers, we have a responsibility to protect our students by not posting them on the internet. Miller shared many stories and examples on teachers failing to consider internet safety when using social media, like the teacher who had a photo of her class on her Tinder profile or the teacher who had their students use Instagram for an assignment. As teachers, we should try to keep social media free of our students and be aware of our digital footprint.

AI:

as teachers, we also have to prepare students for the technological future. According to Miller, we can integrate AI with the 4 C’s of digital literacy critical thinking.

  • content: evaluating ai-generated content
  • creativity: the act using ai to generate and refine ideas- learning tool
  • communication: practice effective interaction with AI
  • collaboration; group activities exploring AI use

School Expectations:

We should be aware of the school’s (the employers) expectations and policies surrounding technology, specifically…

  • how we interact with the public/parents on social media
  • how staff use social media
  • how students are to use social media for school

Welcome and Introduction

Before proceeding with this first blog post, we expect you to consider your privacy preferences carefully and that you have considered the following options:

  1. Do you want to be online vs. offline?
  2. Do you want to use your name (or part thereof) vs. a pseudonym (e.g., West Coast Teacher)?
  3. Do you want to have your blog public vs. private? (Note, you can set individual blog posts private or password protected or have an entire blog set to private)
  4. Have you considered whether you are posting within or outside of Canada? This blog on opened.ca is hosted within Canada. That said, any public blog posts can have its content aggregated/curated onto social networks outside of Canada.

First tasks you might explore with your new blog:

  • Go into its admin panel found by adding /wp-admin at the end of your blog’s URL
  • Add new category or tags to organize your blog posts – found under “Posts” (but do not remove the pre-existing “EdTech” category or sub-categories, Free Inquiry and EdTech Inquiry). We have also pre-loaded the Teacher Education competencies as categories should you wish to use them to document your learning. If you would like to add more course categories, please do so (e.g., add EDCI 306A with no space for Music Ed, etc.)
  • See if your blog posts are appearing on the course website (you must have the course categories assigned to a post first and have provided your instructor with your blog URL)
  • Add pages
  • Embed images or set featured images and embed video in blog posts and pages (can be your own media or that found on the internet, but consider free or creative commons licensed works)
  • Under Appearance,
    • Select your preferred website theme and customize to your preferences (New title, etc.)
    • Customize menus & navigation
    • Use widgets to customize blog content and features
  • Delete this starter post (or switch it to draft status if you want to keep for reference)

Do consider creating categories for each course that you take should you wish to document your learning (or from professional learning activities outside of formal courses). Keep note, however, that you may wish to use the course topic as the category as opposed to the course number as those outside of your program would not be familiar with the number (e.g., we use “EdTech” instead of “edci336).

Lastly, as always, be aware of the FIPPA as it relates to privacy and share only those names/images that you have consent to use or are otherwise public figures. When in doubt, ask us.

Please also review the resources from our course website for getting started with blogging:

© 2025 Miranda's Portfolio

Theme by Anders NorenUp ↑