Page 2 of 2

Week 08: Digital Curation

In this class, we discussed how as teachers we can be curators (similar to a gallery or a museum curator) but for digital media to use in the classroom.

Some resources to help curate digital media include:

  • notion
  • onenote
  • goodnotes
  • wordpress

Have some sort of intentionally when curating media- think of it like a “love letter to yourself!” Start early, so that you will be prepared in the future.

In class, we also partook in what was referred to as an “Ed camp,” in which the education and topics of discussion were curated by the class itself. In this activity, we were handed sticky notes, and then asked to write a topic of discussion we found interesting. Afterwards, we’d stick our notes on the wall, and vote with stickers for which we were most interested in discussing. The groups with the largest numbers of votes split off into discussion groups, where we would educate and learn from each other on the subject.

I found I really liked this strategy! I think by giving students some choice regarding what they’re learning they’re naturally going to be more participatory and engaged. One thing I could see going potentially wrong could be having students get distracted, especially if in a group with their friends. I think having a worksheet or something where they write out what they learnt in the discussion could go a long way in that regard.
Free Inquiry: Jamie Ramsden

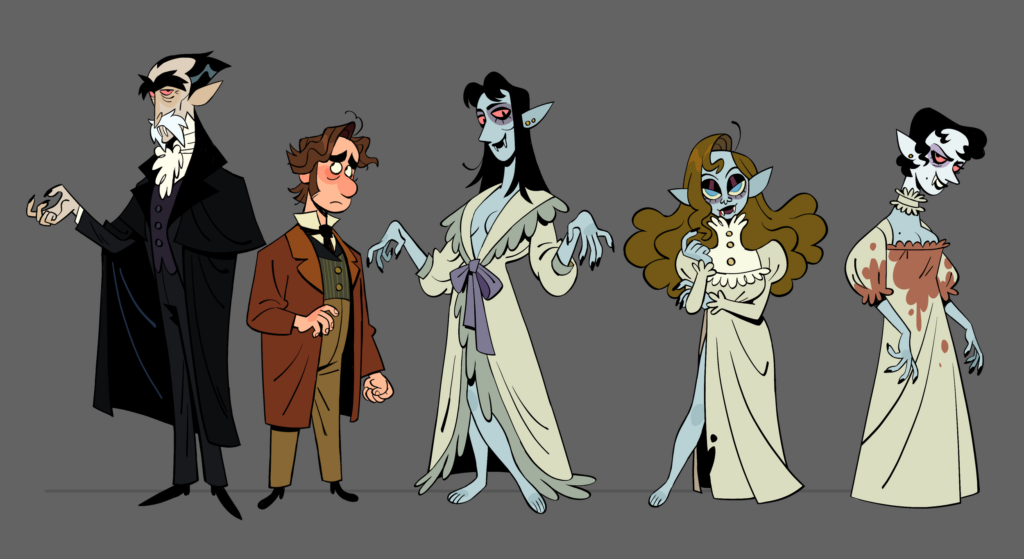
Jamie Ramsden, known online under the alias “Jamzdens” has been one of my favourite artists for years, due to her eye-catching bold cartoonist work. Her drawings feature strong shape language, clear and balanced anatomy, and a very tricky blend of wacky cartooning and structured professionalism.
I’ve tried drawing in her style in the past, but haven’t quite been able to mimic her understanding of shapes in a 3d space.

all of these examples of Jamie Ramsden’s work have been taken from her portfolio website, which you can view here: https://www.jamieramsden.com/

This is the piece I mainly looked to for reference! These figures have a really distinct combination of simple colours and exaggerated shapes paired with defined anatomy. After looking at this and trying to break down the shapes, I gave it my own go!

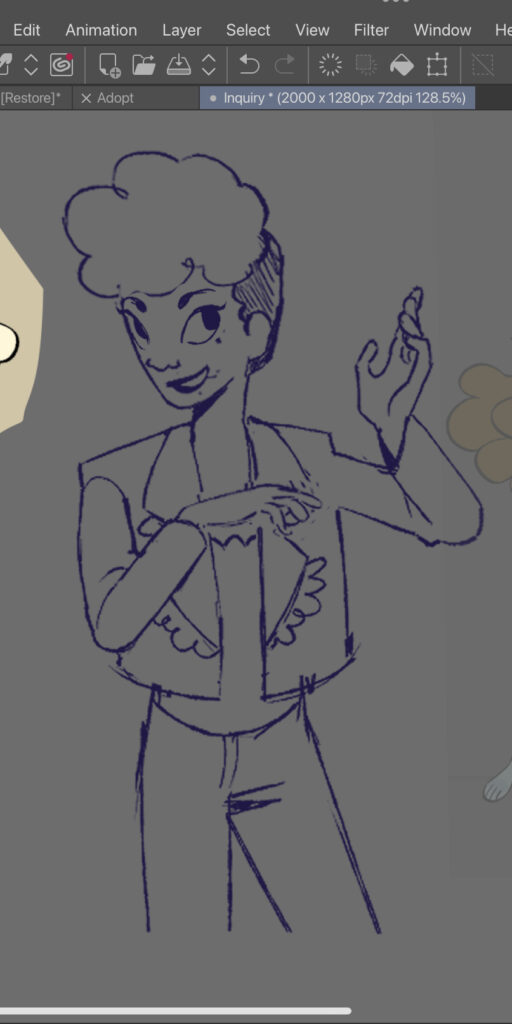
I started with a rough sketch. I tried emphasizing the shapes in the jacket (squares) and exaggerated the size of the hair.

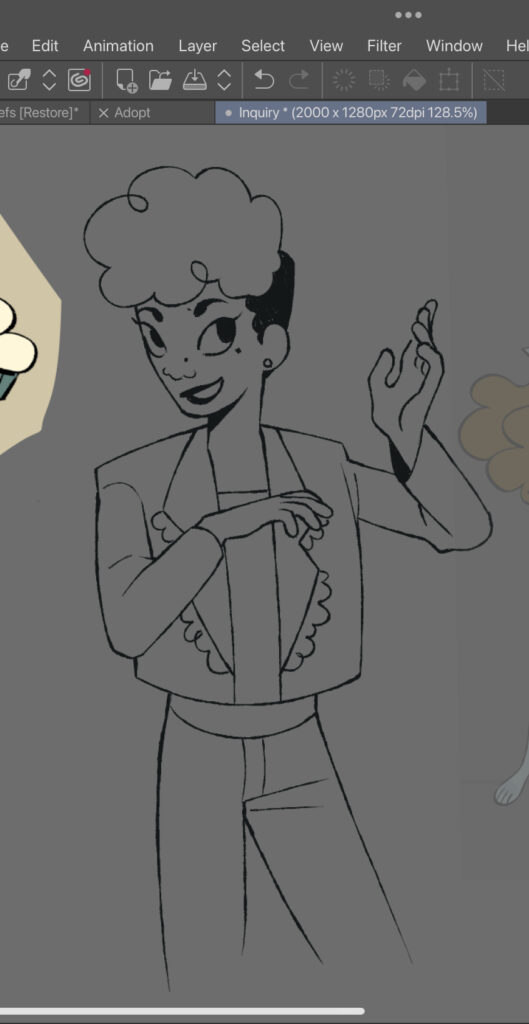
I then went in with the line art, trying to mimic Jamie’s unique way of drawing fingers. I also forgot to erase a line at the base of the jacket here but I fixed it later!

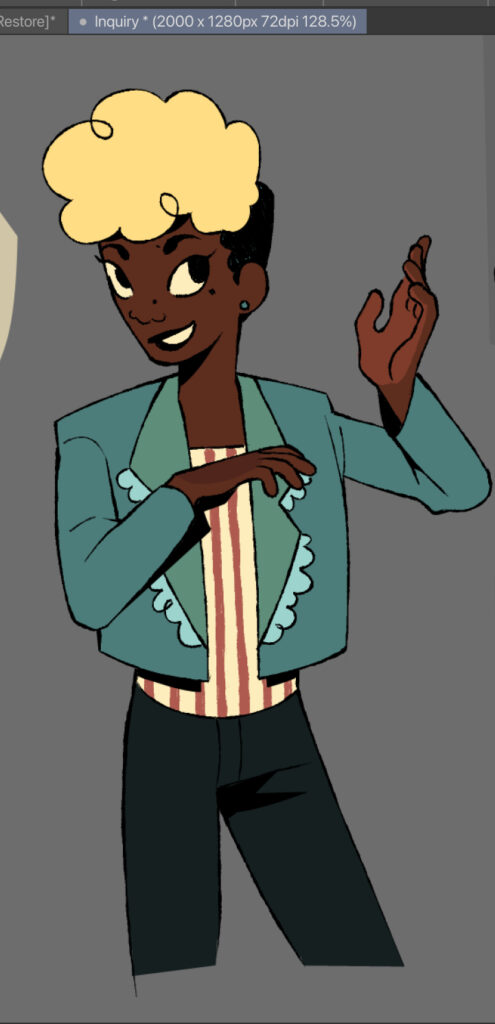
Here’s the final attempt! Jamie tends to use either warm or cool toned colours, so I tried a more cool wash. Afterwards, I went over with a lasso fill brush to add some solid dark shadows, a trade mark of Jamie’s work.
This still doesn’t fully capture the style, but I think it’s at least recognizably similar! I think between this inquiry and the last one, it’s becoming clear to me that many of these artists have very distinct silhouettes and lines of action in their work. I’ll try implementing this going forward!

Video, Images, and Learning Design

Throughout school, I’ve learn lots from videos and was genuinely supported meaningfully through songs, dances, and other interactive videos, like quizzes.

Some video resources that helped me through Elementary:

-Bill Nye the Science guy

-PHE running activity videos, students love them!!

-Math Antics my goat

-Khan Academy

-Math songs, French songs

In order to teach in a way that’s fully accessible for all students, try to make sure you’re using captions! Youtube has an auto-captions feature, but you can also add your own captions if you’re making a video yourself.

The videos used for education follow this cycle:

Video you create to help learners – Video sourced online created by others to support teaching and learning – Video students create to demonstrate learning

Making videos

When making videos, try to keep them as short as possible for attention spans! Enthusiasm and energy are key!

Storytelling and humour can help keep videos entertaining. Also try to make videos reusable, so don’t be too specific about who you’re addressing in a classroom.

Embedding videos into websites is a good way to keep students focused as well, if you’re nervous about letting your students browse Youtube.

Guest Speaker- Introduction to Video Editing with iMovie or ClipChamp

Video use cases: Interviews, Athletic Events, Research, Assignments, Promotional materials

Videography tips: Beware of wind, test audio on location. (use an external mic or audio recorder)

Free Inquiry: Ian Worthington

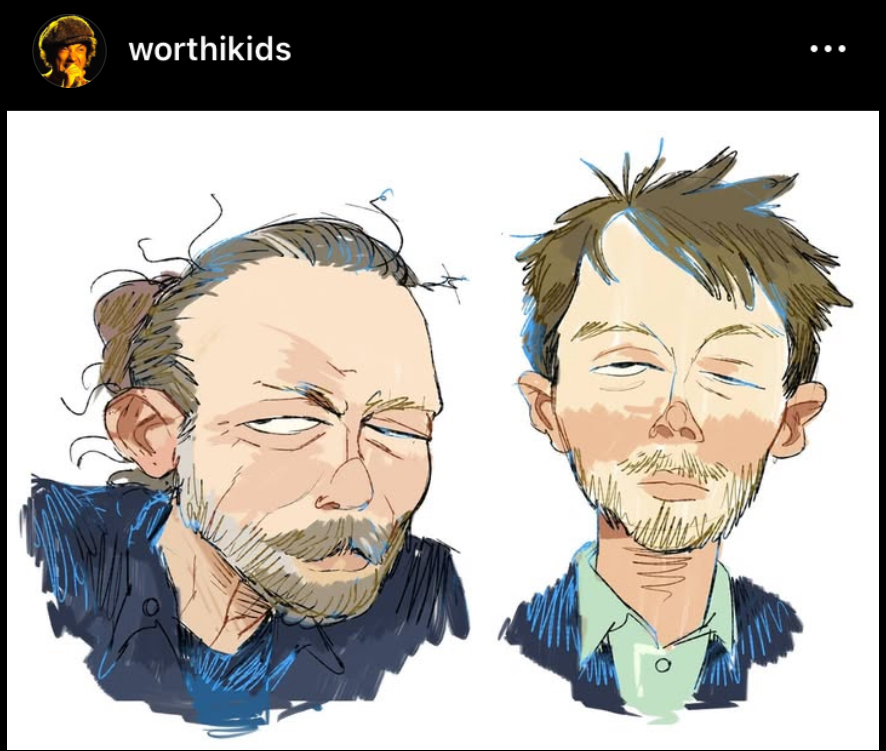
Ian Worthington, known by his online alias “Worthikids,” is widely known for his unique, textured cartoonist art style, as well as his creation of 3d shows in Blender that look 2D, or integrate 2D art on top of 3D models.

As tackling 3D modelling for the first time would be a bit much as a single inquiry entry, I decided to try and emulate some of his 2D drawings and art style. Most of these drawings were taking from his Instagram, which you can find here!

https://www.instagram.com/worthikids/?hl=en

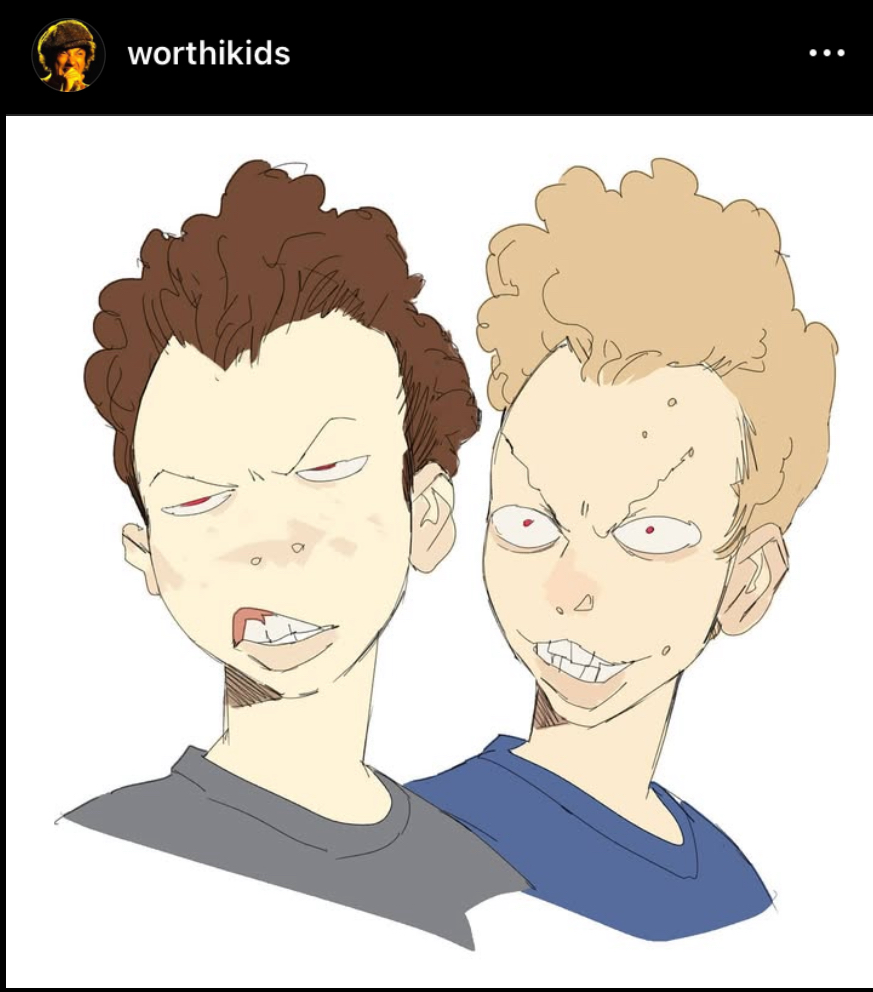
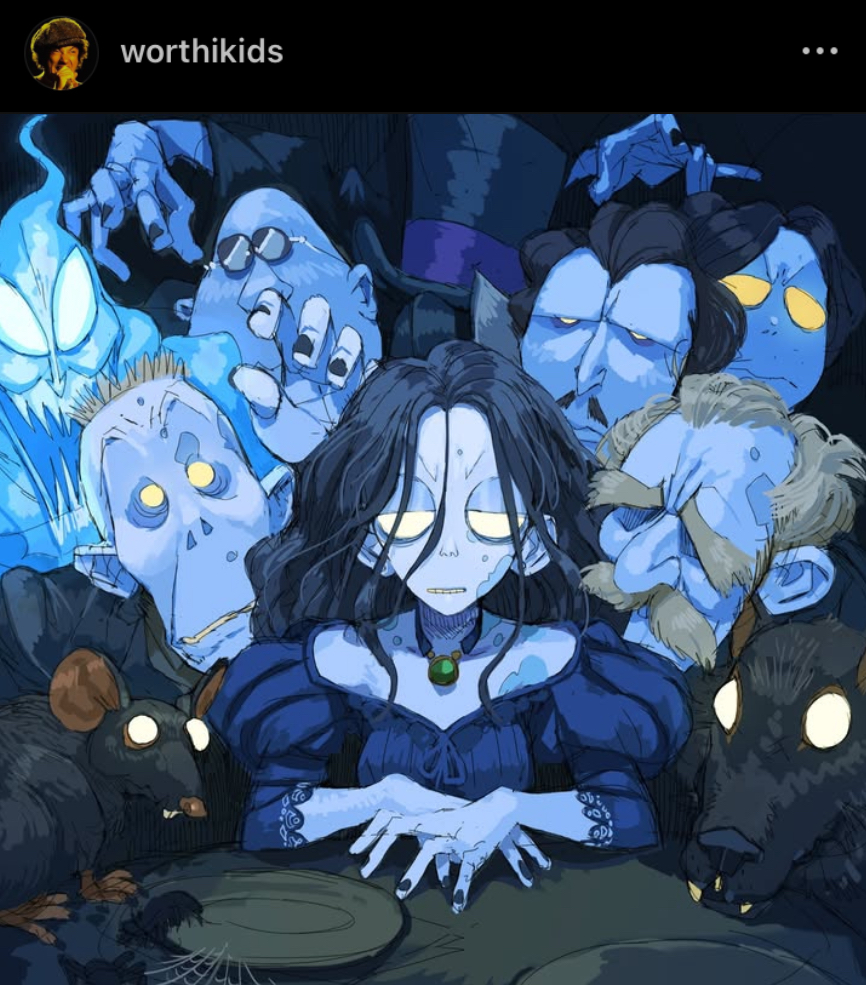
Starting by looking at these busts from Worthikids, I wanted to try to emulate the thin, messy lineart style and patchy skin painting. I find it fascinating how despite using more sketchy lines, Ian’s art remains punchy and easy to read due to the use of bold, simple colouring.

I’m also very drawn to the dramatic lighting in this piece of his. It seems that for the lighting, he uses a more painterly brush on top of solid, un painterly colours. Combining these techniques seen in these pieces, I gave the style my first go!

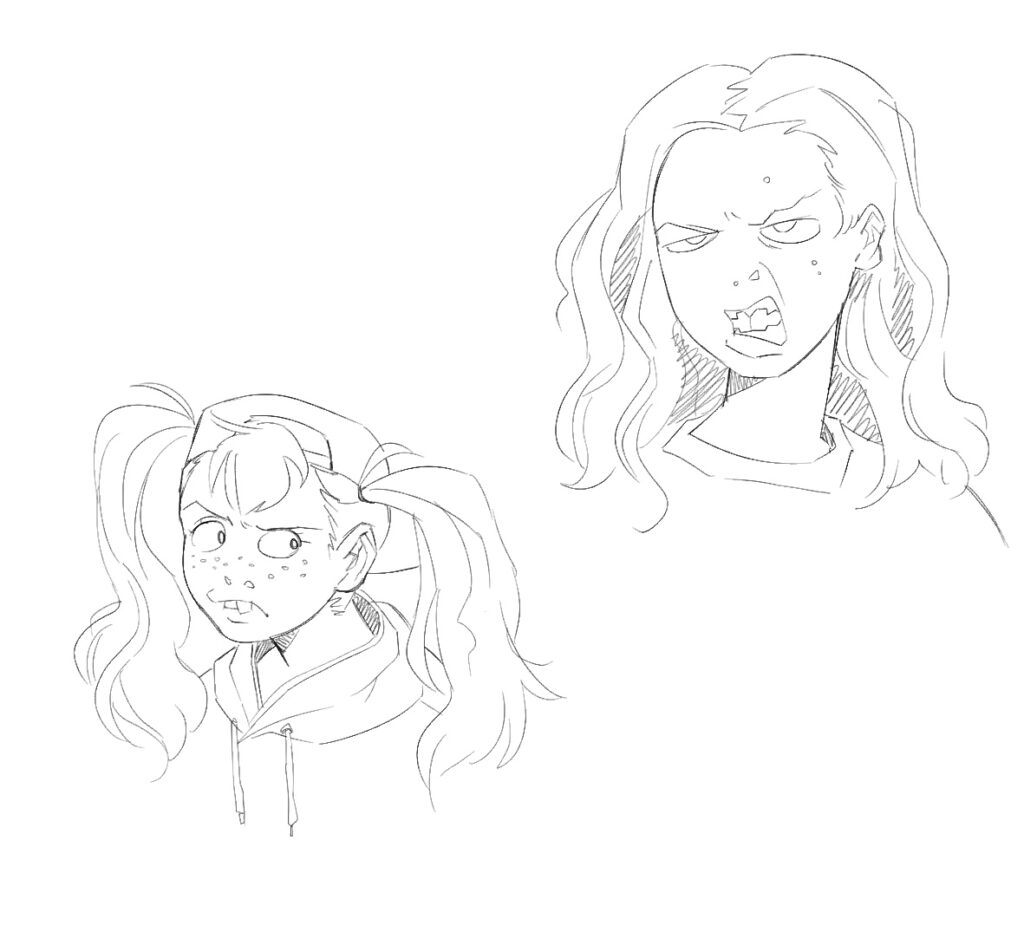
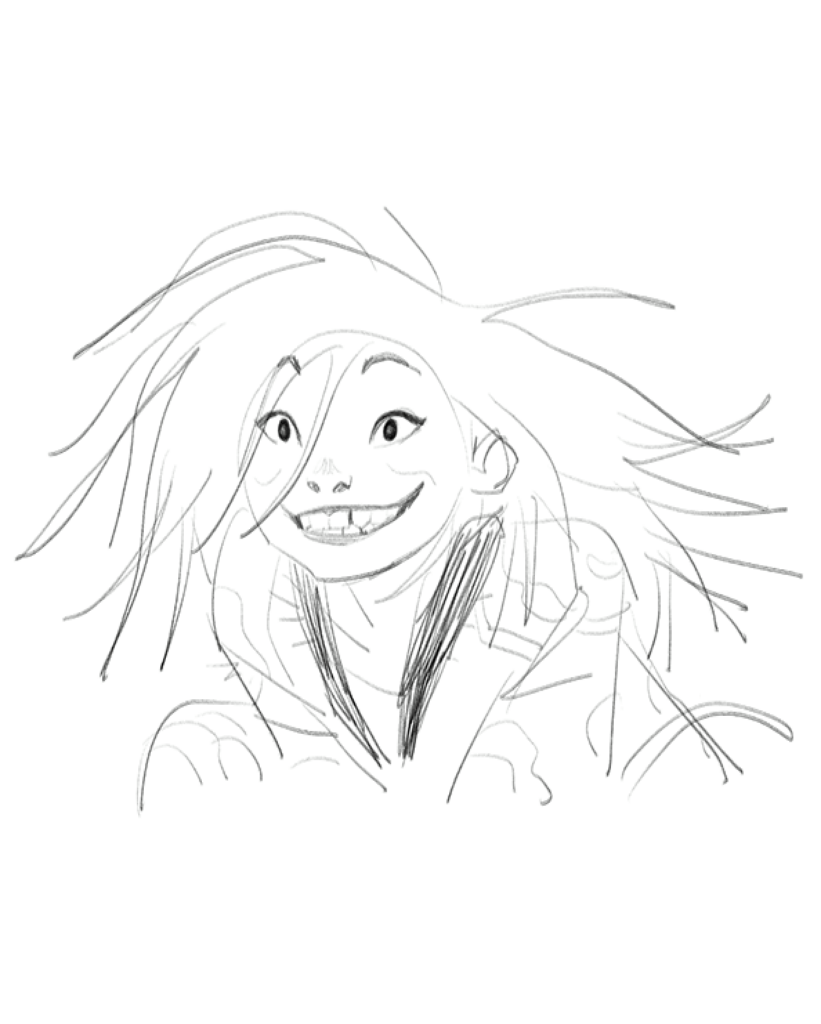
I started with a sketch. I’d noticed that Ian’s art style involved lines that, while confident, often retrace or build line width or contrast through layered lines. This brought me way out of my comfort zone, as I’ve had perfectly neat lineart drilled into me my whole life. I also tried drawing some fun teeth and used the blank “nostrils only” nose style as seen in the first piece referenced.

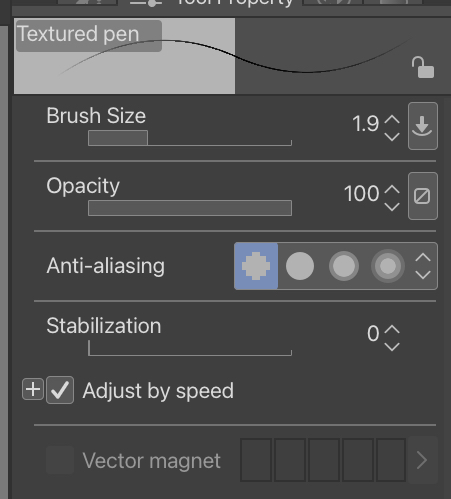
Here’s the brush I used! I turned off stabilization to get a more natural, messy line look. This format was very fun to play with, and I can see myself using this brush in personal work in the future.

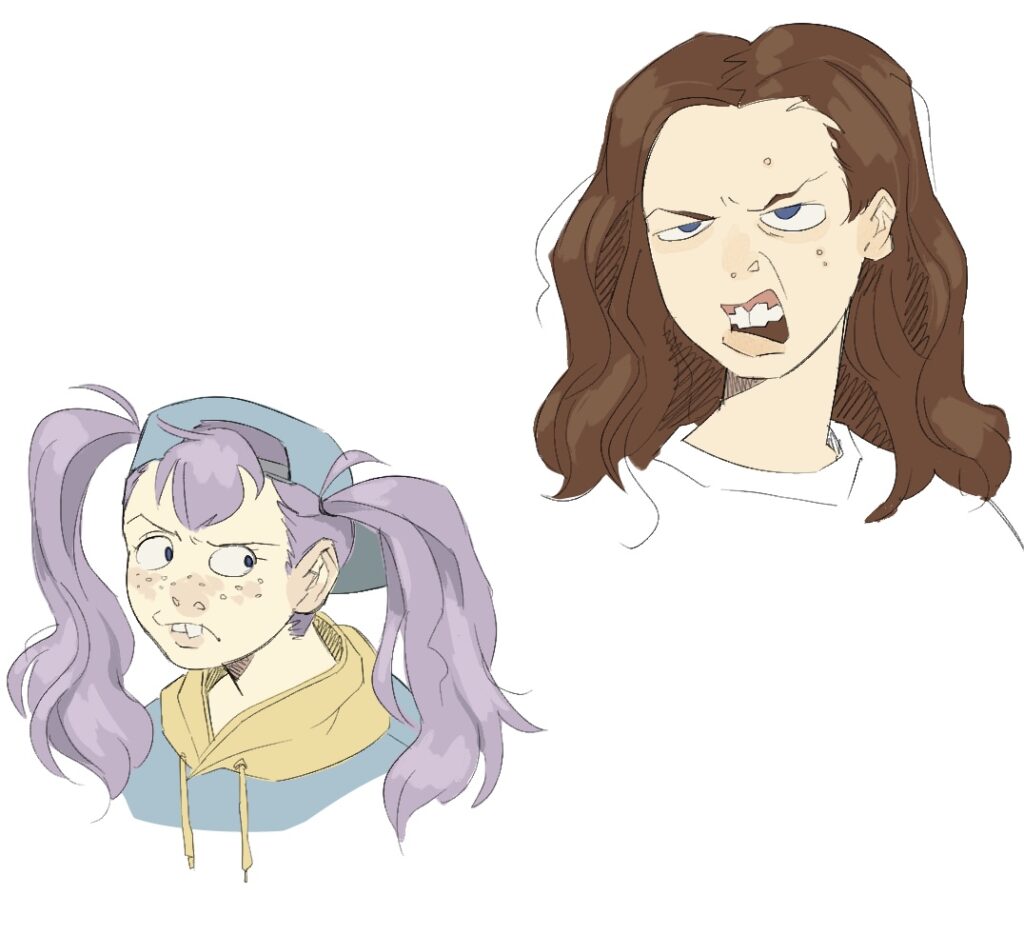
I then filled in the colours, adjusting them to get a more muted, natural look. I used a painterly brush for the highlights and shadows, as well as skin details. These turned out very fun!
For the last piece I tried, I referenced these portraits:

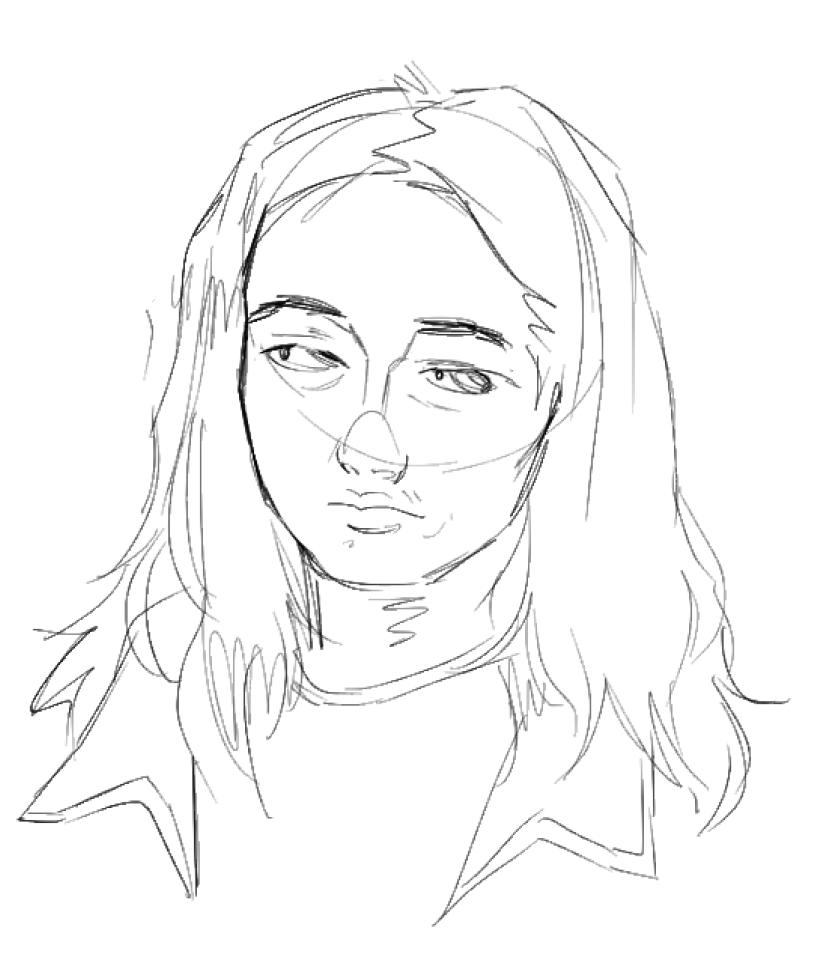
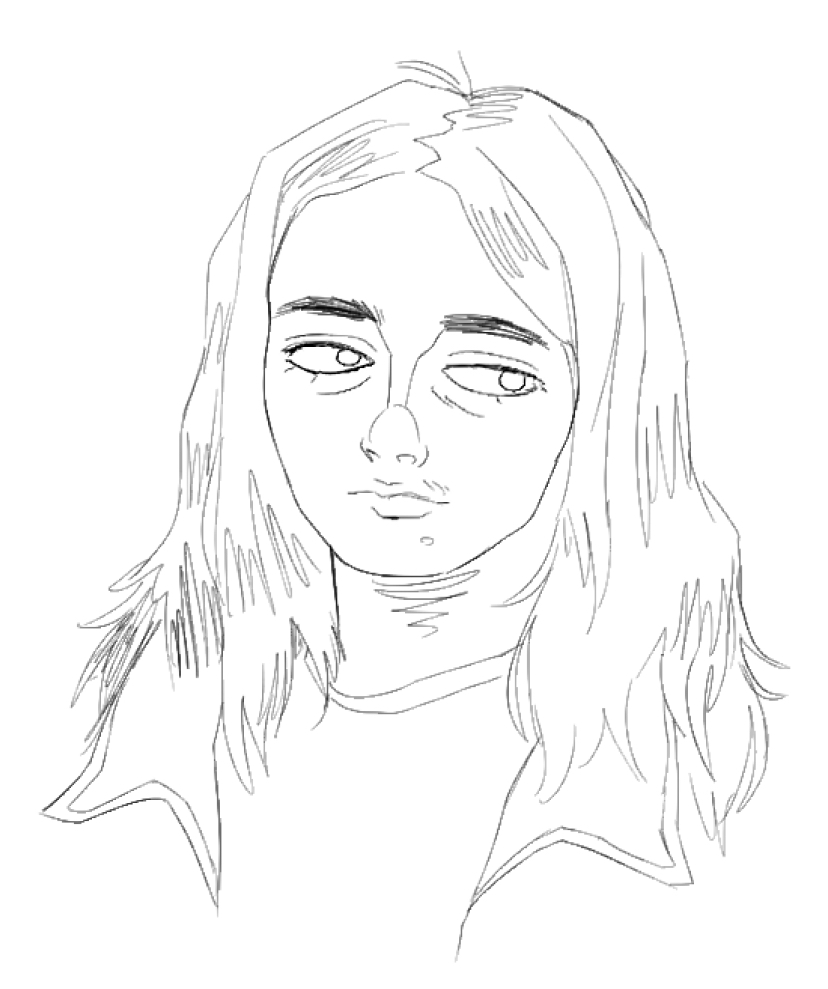
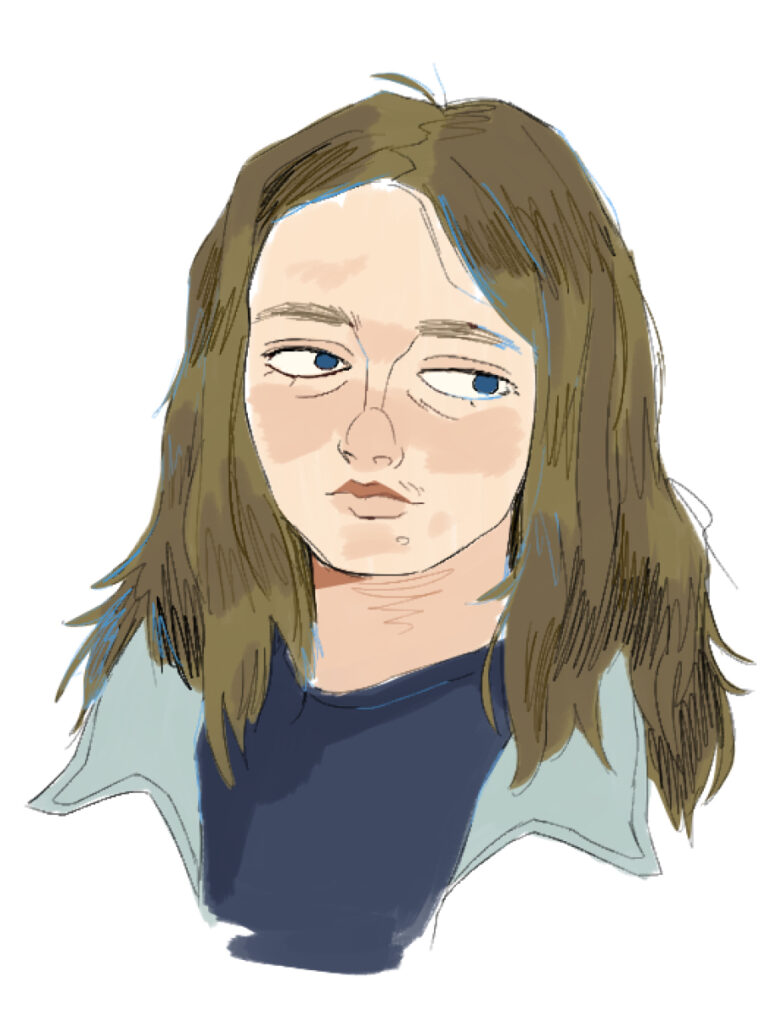
While using the same elements of the previous illustrations, (sketchy line art, painterly details, simple colours) this piece builds upon Ian’s art style as he adds hatching in the hair and clothes, as well as blue splashes in the line art. The base colours themselves also seem to be painted, as we can see the white of the canvas peeking through. I decided to give this style a go!

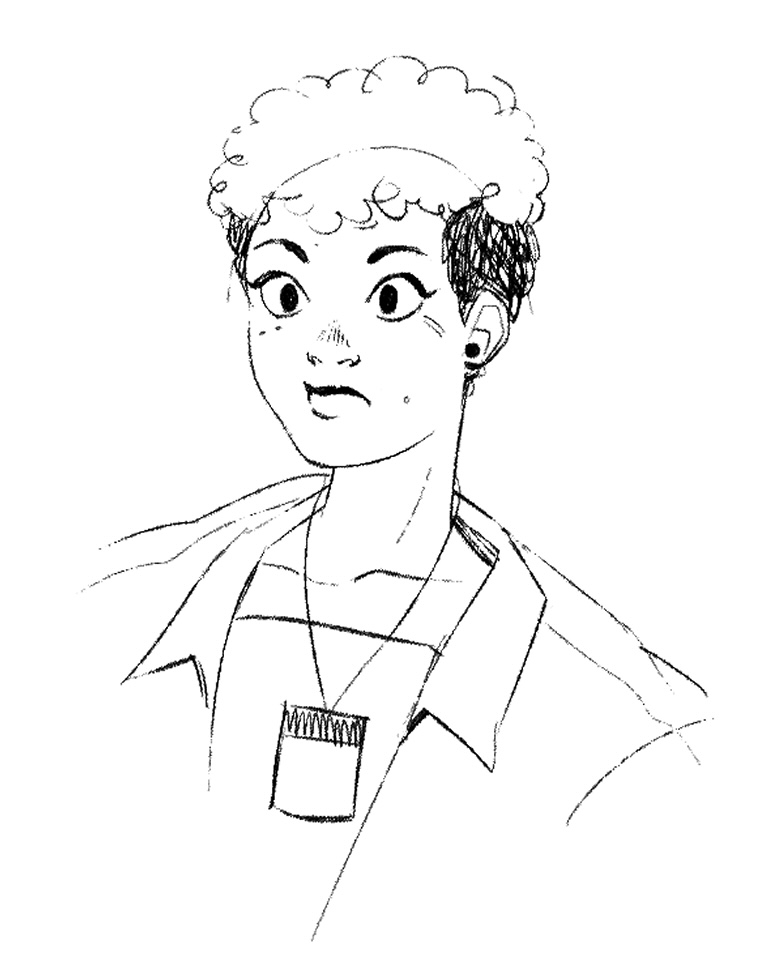
I started with a rough sketch, paying special attention to how Ian draws noses and nose bridges.

I then went over and drew more detailed line art, without construction lines.

Finally I went in and added colour, as well as hatching in the hair and blue splashes. I probably could’ve added more hatching to the clothing, but I still like the vibe of this finished piece.

Free Inquiry: Shiyoon Kim

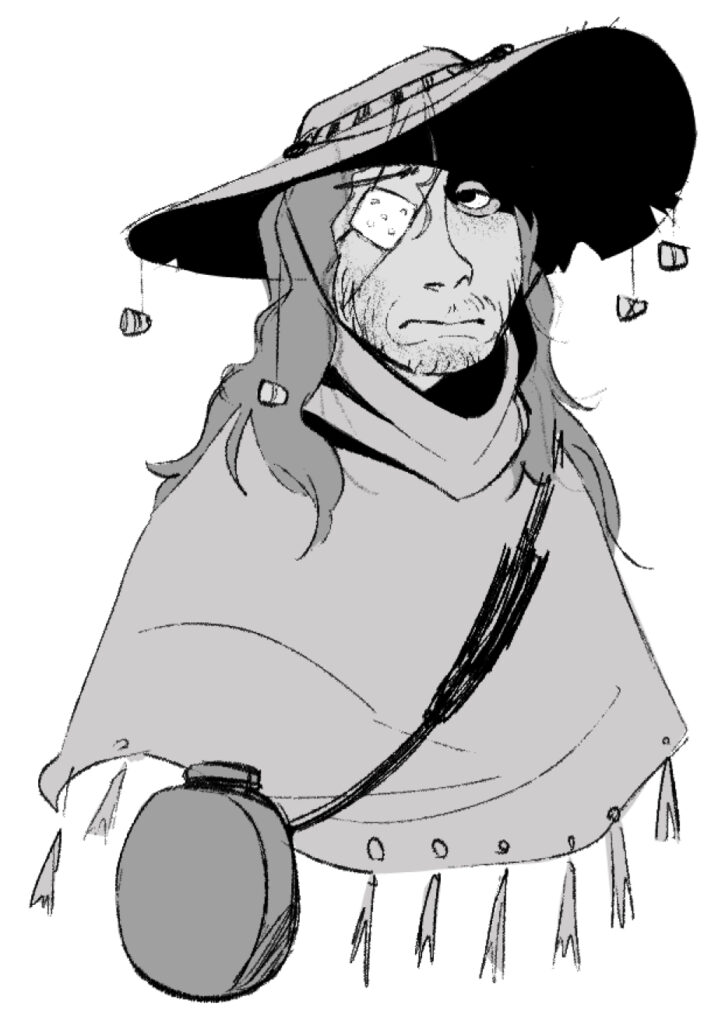
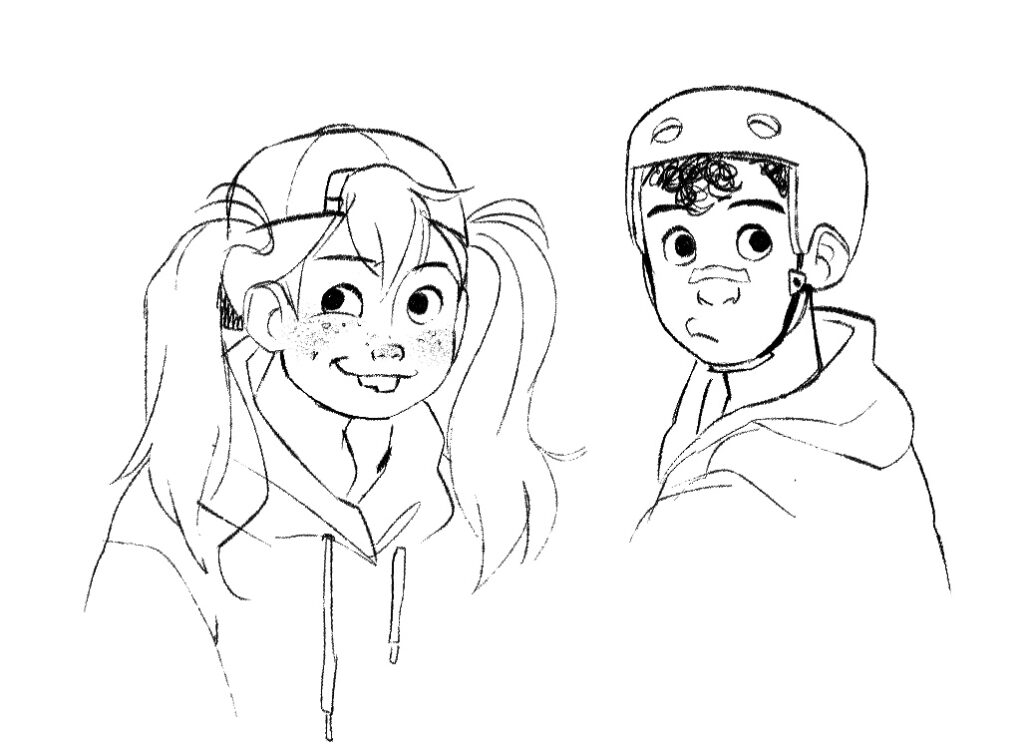
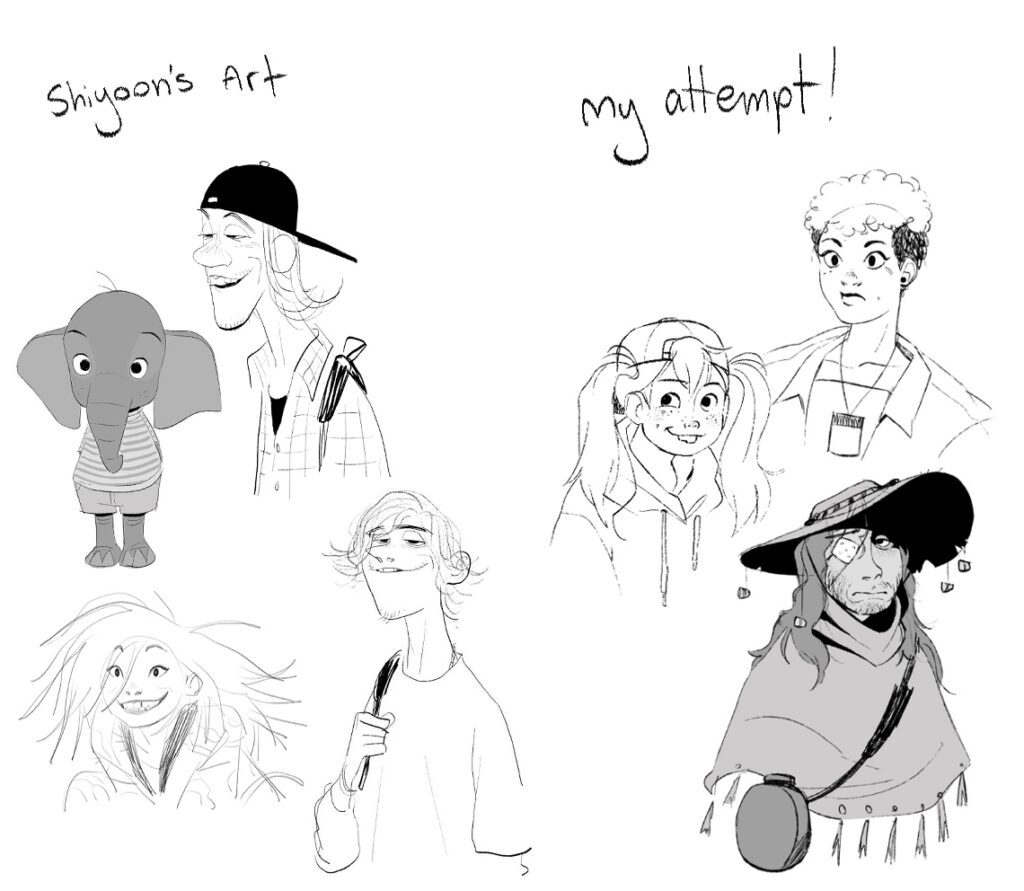
For my free inquiry project I’ll be studying how to draw in the styles of many different artists. For today’s inquiry, I looked at the works of Shiyoon Kim, a famous character designer who has worked on many animated films from Disney, Dreamworks, and Netflix. All the pictures here (unless said to be mine) are from Shiyoon Kim, and you can check out his personal website here:

http://www.shiyoonkim.com

Why Shiyoon?

Shiyoon’s work has always stood out to me for its more loose, speedy style of drawing. As someone who can take days working on a drawing, I really wanted to become comfortable with a more loose style!

Shiyoon also has an incredible sense of scale and proportion, as seen in his work. While I mostly did headshots for this study, I hope to one day also have a great sense of 3d!

Tools I Used:

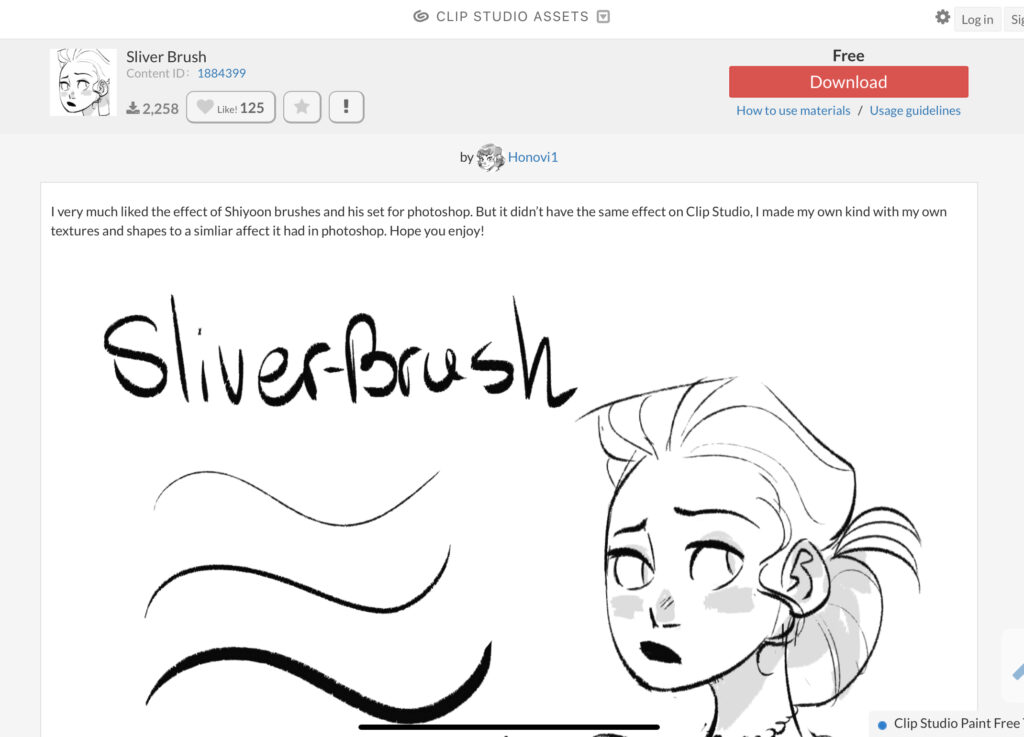
While Shiyoon Kim has his brushes available to purchase, I am very broke and was able to find a similar brush on the Clip Studio Paint store.

One of the defining features of this style of brush is its varying line width. Shiyoon uses a combination of thick and thin brush strokes in order to add more visual interest, as well as emphasize the separation between something.

In this concept art he did for Big Hero 6, we can see the thin lines used in the hair, where the strokes are part of a single “body,” and thicker lines at the collar and base of chin, where clear separation is important.

In this concept art done for Raya, we can see Shiyoon use very wispy, scribble lines for hair. Using this example and the above one for reference, I gave it my first go!

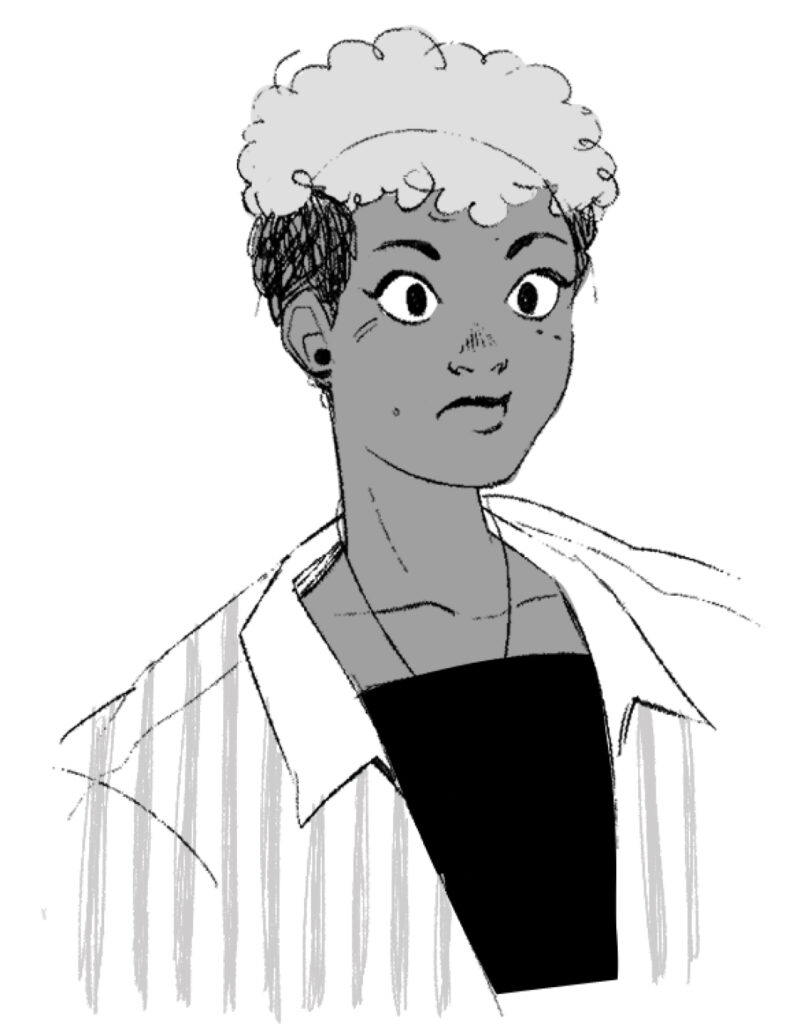
This is my first attempt, and while similar enough in vibe still feels a bit stiff around the face. I do think the jacket is closer to the desired looseness though!

I also tried adding some simple greyscale, similar to Shiyoon’s Across the Spiderverse concept art. I like how the vertical stripes came out!

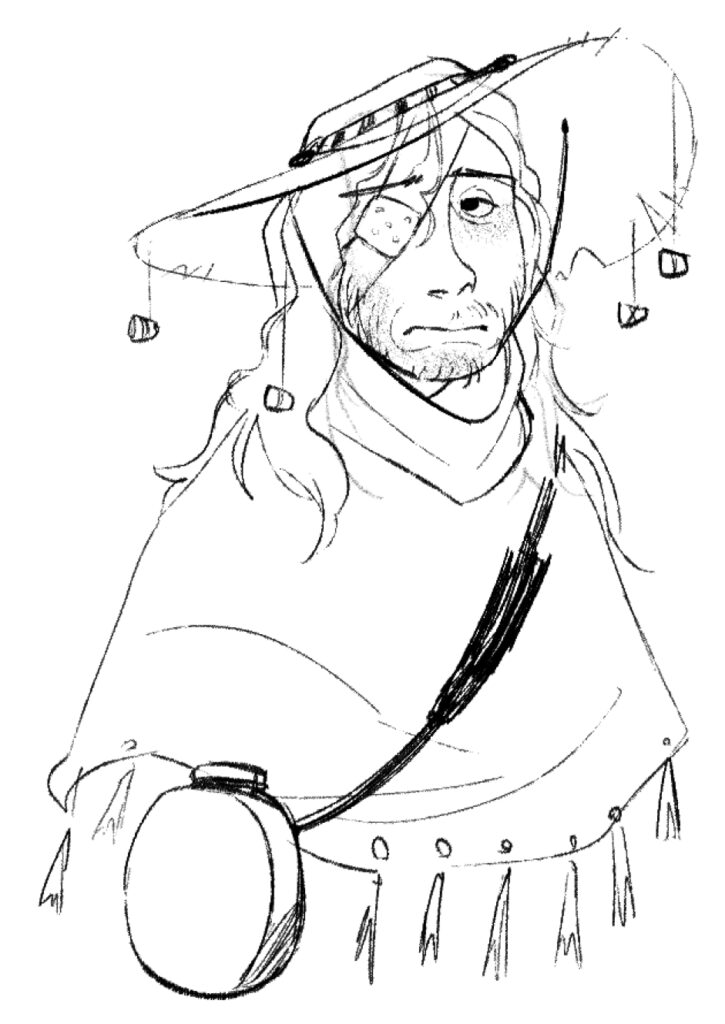
This was my second attempt! I tried adding more texture on the face by using a large pencil brush , and also used that same brush to create a wispy hair look.

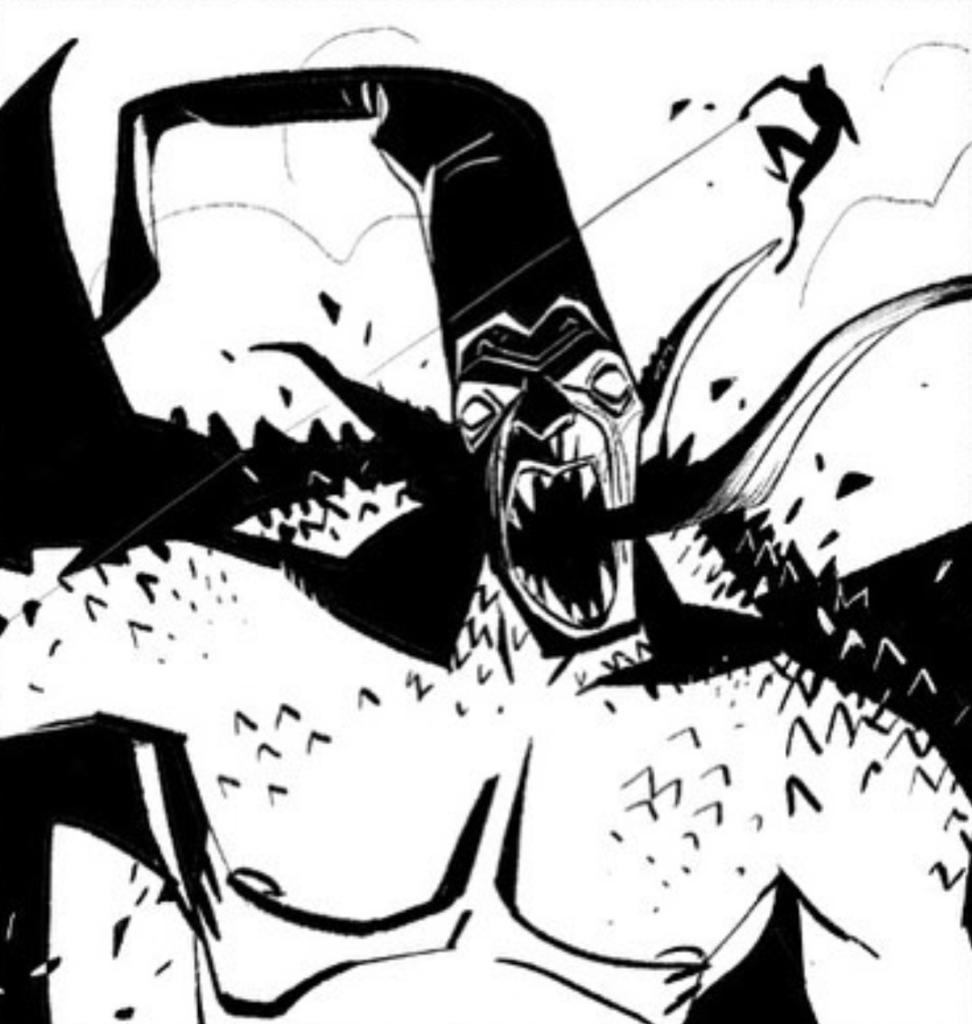
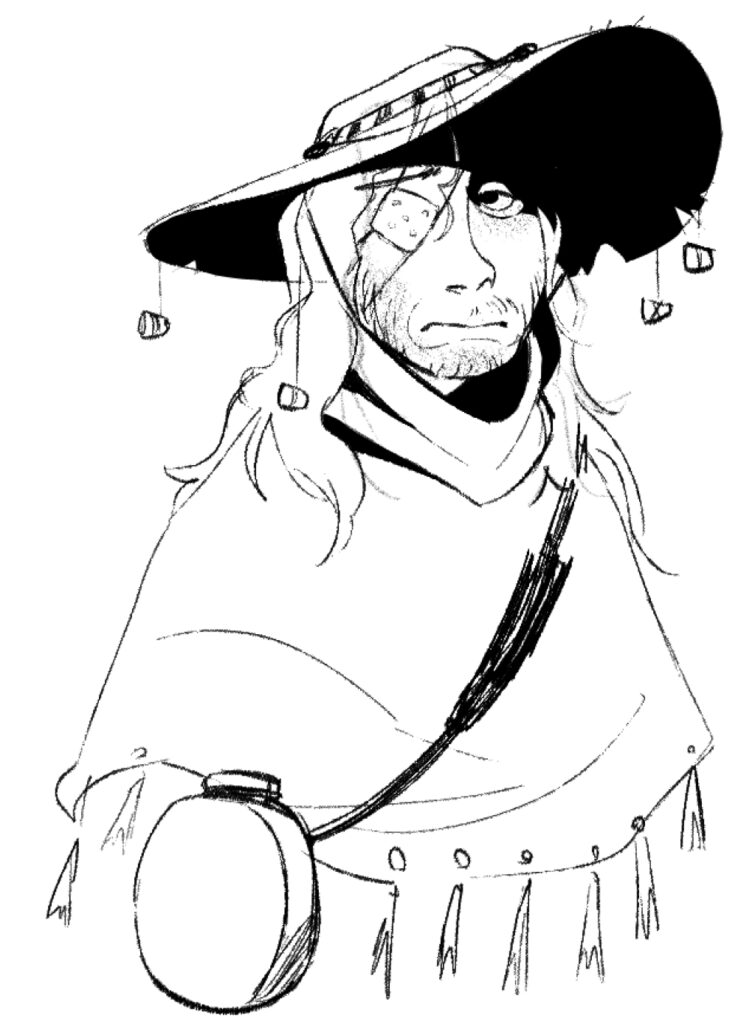
this art from Shiyoon has a really cool use of solid black lighting, so I tried adding that to the work above!

awww yeah it’s all coming together 😎😎

Adding the solid shades really makes the piece come together!

For my final try, I referenced this Shiyoon Kim drawing:

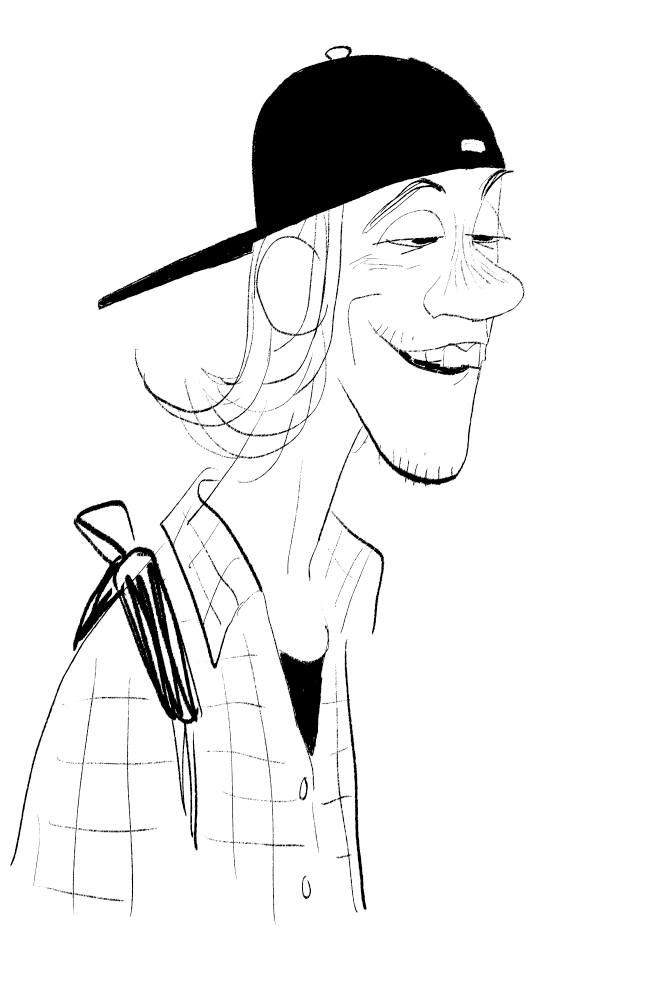
this one, while much neater, still has some of that trademark looseness, as seen with how the lines intercept at the corners. I wanted to try copying how he drew eyes here!

And here’s the final try! This was a super fun style to experiment with, and I feel like I’ve learned a lot. While obviously not 100 percent accurate, I think these pieces look very unique compared to anything I’ve made before!

Graphics for Teaching

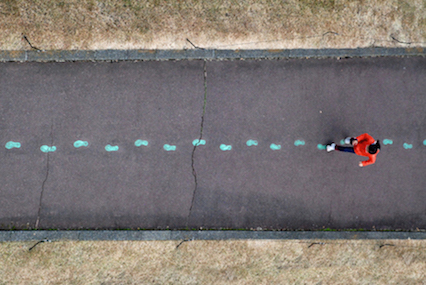
Using graphics helps us understand far more than we would with just text. As teachers, implementing graphics into our lessons can further student understanding, as well as making classes more fun! (E.g, the bicycle example)

when making infographics for teaching, it’s important to keep these things in mind:

  • colour coordination (having sections labeled with colours is an easy way for students to recognize and group things together)
  • labels (when learning new things, having parts of a graphic labeled go a long way, and it’s important to avoid assuming students are already well versed in what a lesson is on)
  • hiding info with slides/ppt (this is a fun way to quiz students! Some teachers make games of “Jeopardy” using PowerPoint, and by obstructing information, students may be more intrigued and engaged by the lesson)

Options for graphic creation

  • Canva
  • Gimp
  • Ibis paint my GOAT
  • photoshop (photo pea)
  • Krita

Powerpoint is widely available at most schools! Try not make your students sign up for new services due to security concerns. PowerPoint has many wonderful features, like “Smart art,” which makes easy diagrams. Students learning about using hyperlinks in PowerPoint can also make their own “choose your own adventure” stories, which can be an exciting way for students to exercise creative thinking.

Reflection- Jesse Miller

Last Tech class, Jesse Miller came in and talked about how we can use technology responsibly as educators.

How to Use Social Media:

as teachers, we have a responsibility to protect our students by not posting them on the internet. Miller shared many stories and examples on teachers failing to consider internet safety when using social media, like the teacher who had a photo of her class on her Tinder profile or the teacher who had their students use Instagram for an assignment. As teachers, we should try to keep social media free of our students and be aware of our digital footprint.

AI:

as teachers, we also have to prepare students for the technological future. According to Miller, we can integrate AI with the 4 C’s of digital literacy critical thinking.

  • content: evaluating ai-generated content
  • creativity: the act using ai to generate and refine ideas- learning tool
  • communication: practice effective interaction with AI
  • collaboration; group activities exploring AI use

School Expectations:

We should be aware of the school’s (the employers) expectations and policies surrounding technology, specifically…

  • how we interact with the public/parents on social media
  • how staff use social media
  • how students are to use social media for school
Newer posts »

© 2025 Miranda's Portfolio

Theme by Anders NorenUp ↑